Tamiya 3 Speed Gearbox
This is undoubtedly the most iconic element of a chassis that made History in RC: this mechanical component was improved over the years since 1981, including on the current re-release, but the working principle remained the same throught decades.
In order to correctly perform the assembly of this mechanical jewel, you definitely need to carefully study each step described in the manual with attention. It is crucial that you clearly identify first in which direction some parts require to be assembled, or to precisely and accurately measure the exact 21mm long of one certain axis for example.
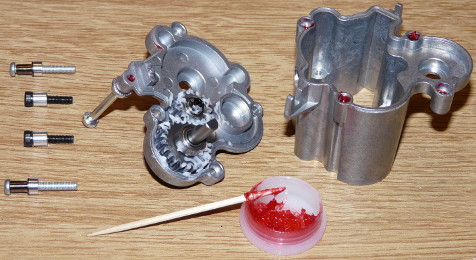
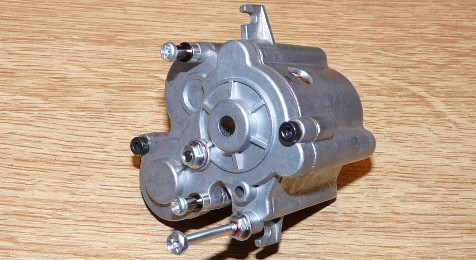
Of course, we will keep using our deer friend the thread lock and the first photo reveals one of my tricks to use this product: a simple tooth pick on one hand, and one the other hand, applying the thread lock directly to the screw thread instead of the screw itself (when possible). When the screw goes through a plastic part before reaching a metal part where the thread lock will secure it, if you apply the thread lock to the screw thread, then you avoid leaving thread lock on the plastic part when the screw goes through it. When you know that thread lock makes plastic very fragile, this is a good method to use whenever it is possible. It works great too when the screw goes through a tube (a flanged tube for example) that needs to remain free to move: applying the thread lock on the screw will leave thread lock inside the tube and the tube will tend to stick to the screw.
Below is another trick I use for some complicated steps: identifying each part using the part list found at the end of every Tamiya manual. Of course, you can't use the manual at the same time to make your build: that's when electronic documents displayed on your computer screen or printed versions help. This is a great help when parts look similar or when only one tooth or 1mm thick makes the difference:
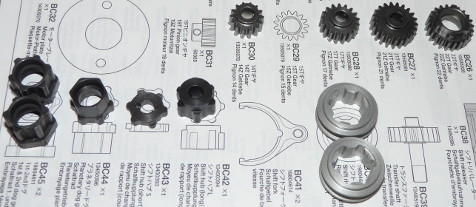
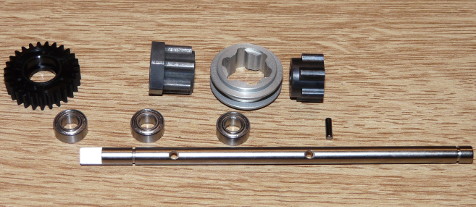


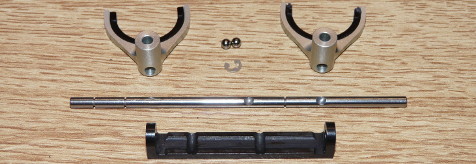
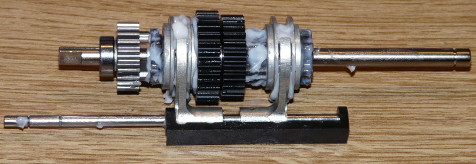
What you see above is the famous Tamiya 3 Speed transmission. On this shaft are the shift hubs and rings used to switch between speeds, and then the shift fork that acts as the gearshift lever. The shift fork is driven by one servo that will move it and place it with precision depending on the gear chosen by the driver from the radio.
After placing the gearbox into the first half gearbox casing, we build the sub shaft and place it into the second half gearbox casing:
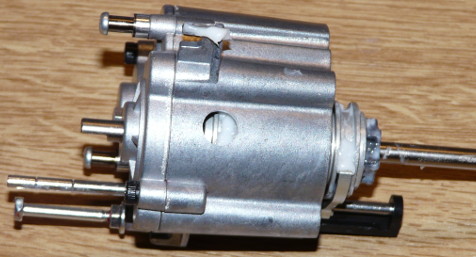
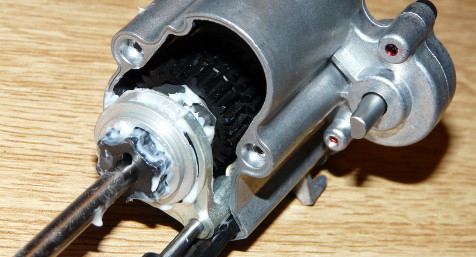
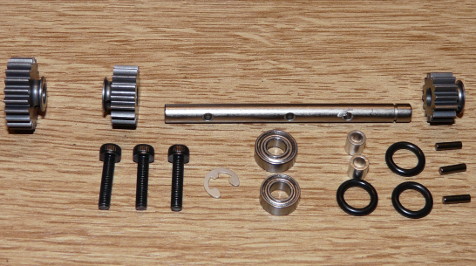
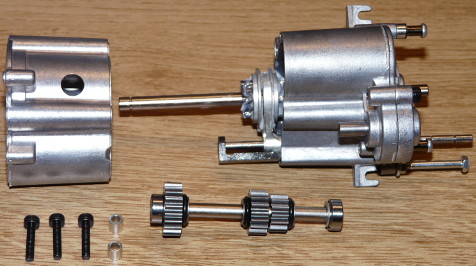
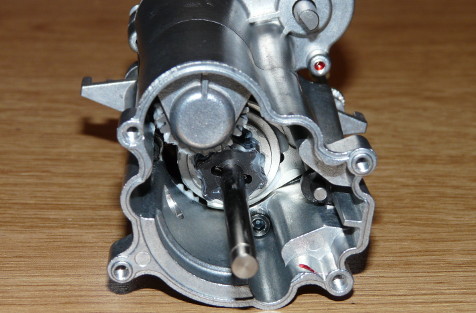
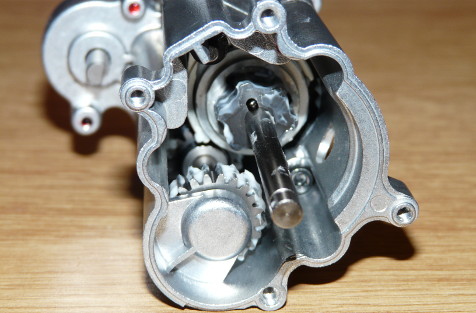
Using different angles, the two first photos show the gears from the side where the motor will later take place. Next, the gearbox casing is closed after inserting the planetary gears and holder... or may be not:
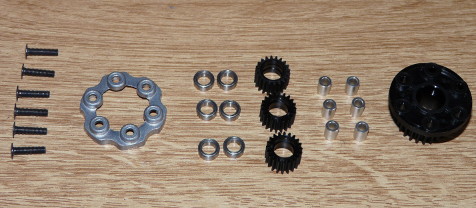
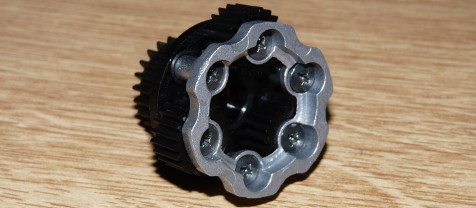
This is what the manual recommends. Next, you place the planetary system into the gearbox casing, you install the spur gear and you finally seal the whole gearbox with the spur gear casing (which acts as the motor mount at the same time). However, I chose to install the optional 54412 R/C 4x4 Vehicle Slipper Clutch Set in order to better protect the gears from the motor power, which means the build will be slightly different from the stock manual description:
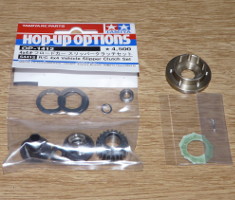
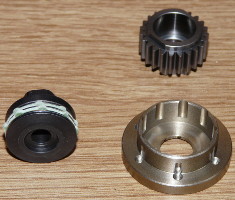
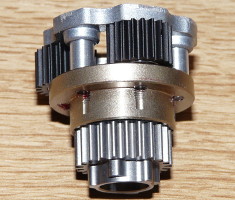
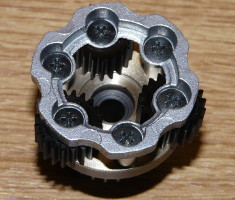
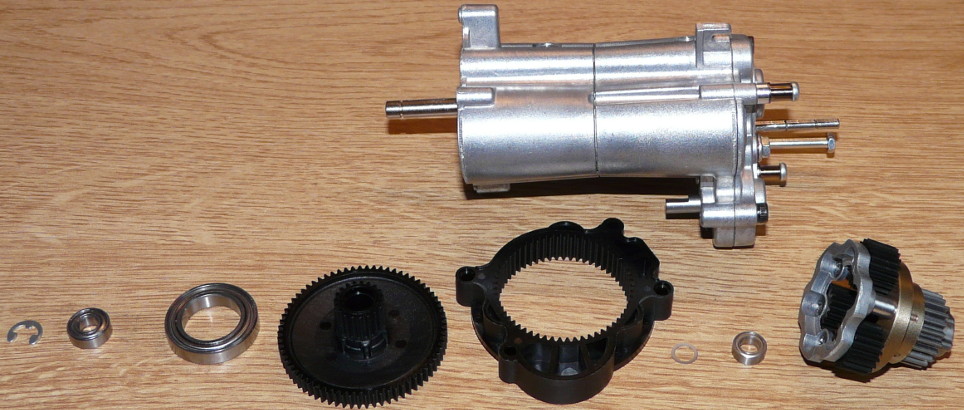
At this point, it is crucial to perfectly understand how to build the slipper clutch because some stock parts will be used, others will be left apart and others will need to be replaced with new parts. As far as I could test, any mistake at this step will immediately show because the gearbox casing won't close properly: yes, I did my homework and I tested about all possible mistakes I could think of ![]() .
.
Building the gearbox ends pretty easily after that. As you can see, all the gears received their share of grease in order to make things as smooth as possible:
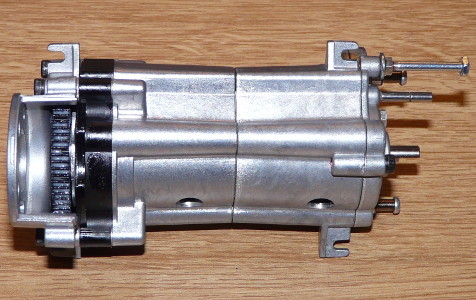
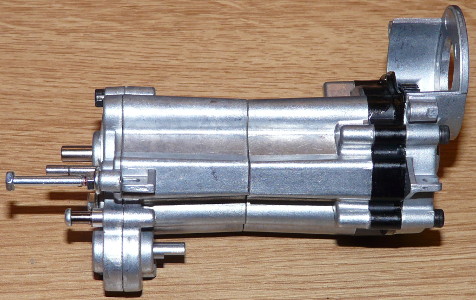
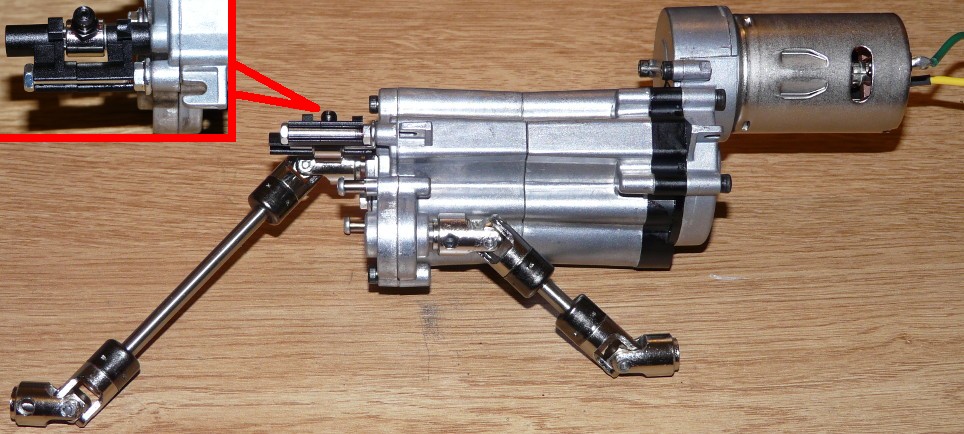
On the last photo, you can't miss the two drive shafts coming out of the gearbox, the shorter being for the front drivetrain. The use of two different drive shafts allows to either drive the front and rear are the same time, or only the rear depending on the selected gear. The upper left inset shows a detail that is important for the gearbox smooth operations: using spacers, the ball connector nut is held in a very precise position. This ball connector is located on the shaft that drives the shift fork we saw earlier: as the shift fork will later be driven by a servo using this ball connector, it is very important to temporarily hold it in a precise position in order to later setup the servo neutral position.
Next step is to install the gearbox unit on the ladder frame chassis, and then to link the gearbox drive shafts to the front and rear axles. Then we can take some time to admire the whole chassis:
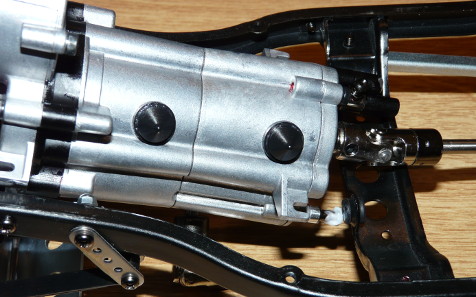
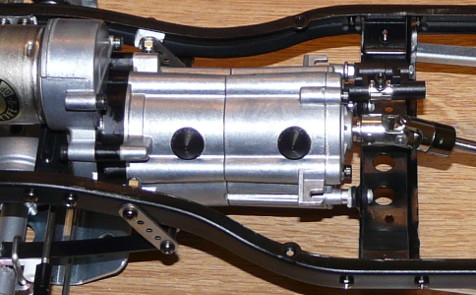
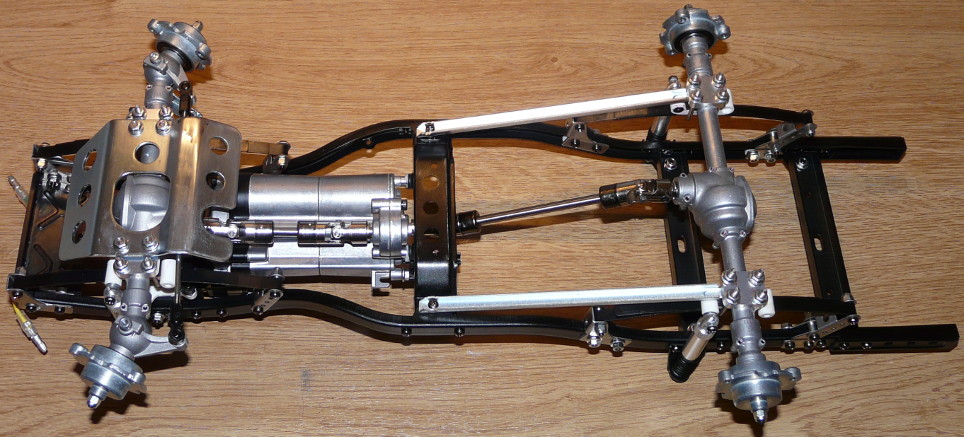

After more than 5 hours dedicated to the sole legendary gearbox, the chassis now looks mechanically complete. Of course, there are several important steps left before we finish the build, but at this moment of the build, you can already feel how amazing this mechanical jewel is. The most outstanding of all is may be to realize that most of this wonder was designed more than 30 years ago.
The build is complicated, often unclear at first when you read the manual, but eventually, it is quite straight forward once you focus and take your time. I found the most time consuming to be the selection and double check of each part required to perform each step. Understanding each step is also very much time consuming, and you'd better not improvise because, even when you focus and you take your time, you still make mistakes. At least, I did. For every mistake, you need to unbuild everything you just built, to understand where you made the mistake and then rebuild everything correctly.


