The Avante bodyshell
The Avante bodyshell is made out of 3 distinct parts: the bodyshell, the wing and a lower chassis protection called undercowl. Overall, it is quite easy to paint at first sight since only one color is needed: PS-16 metallic blue.
At first sight. Because the PS-16 is among the most difficult paint to apply, alike all Tamiya paints with metallic effect because the metallic flakes make the paint very fluid. And also because of the bodyshell itself: the lexan sheet is quite thick and shapes are rather complex to cut: it took me about 3 full hours to complete the whole bodyshell cutting.
Then the best part: window masks are not supplied for the windshield (which is more of a sort of bubble, actually). No problem, there is an easy and efficient technique to deal with this:
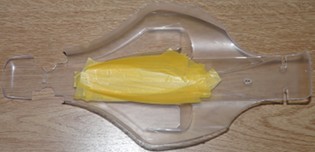
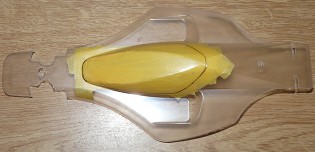
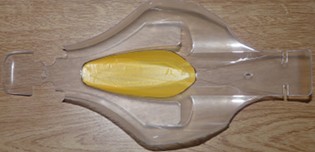
First, mask the whole cockpit “bubble” with several layers of masking tape: be generous and override the bubble limits to be masked (photo 1). Then, from the outside, draw the lines around the bubble (photo 2): don't worry, the marker pen will disappear once the protective lexan film is removed. Using a cutter with a new blade and against the light, draw the marker lines from the inside on the masking tape. Be careful not to overpress the blade and damage the bodyshell: the pressure on the blade only needs to cut through the masking tape layers. Then just remove the outer masking tape. Do not forget to double check that the masking tape edges are properly sticked (they could have been slightly raised when you removed the excess of masking tape).
Next operations take place at the paint booth (that means my balcony) with the terrible metallic blue paint. More than others, the metallic paints require to be sprayed with very thin layers. Very, very thin, only a veil at a time, and sprayed from a greater distance than usual.
Back from the paint booth, with the driver cockpit painted with PS-5 Black paint for the matt finish and the driver's helmet sprayed with TS-17 Gloss Aluminum:
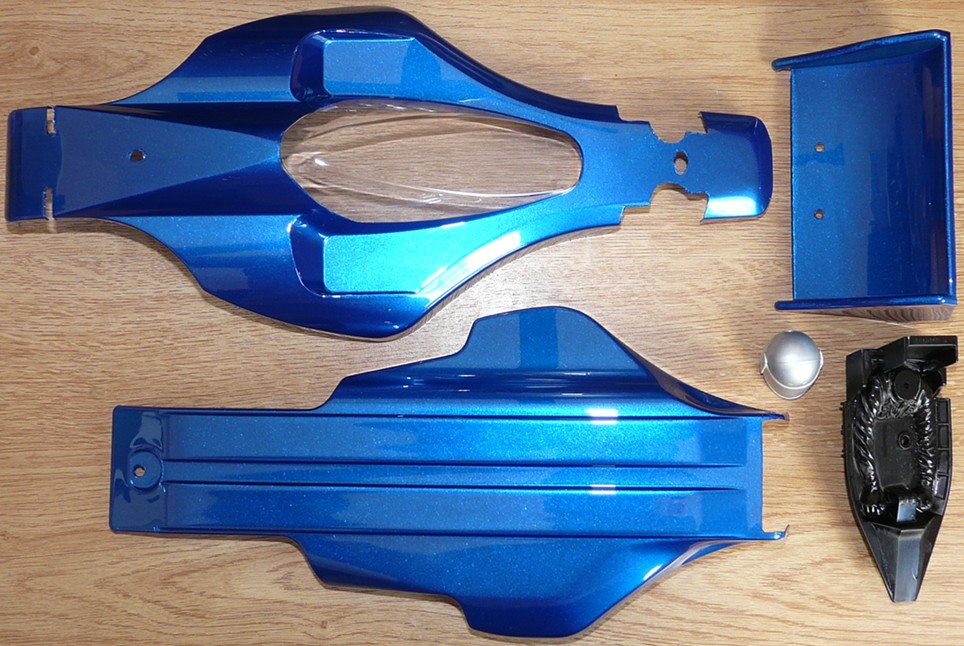
Already from this photo, the very fluid layout of the bodyshell and the undercowl can be seen. With the latter, you can't miss how thin the center of chassis looks. As for the bodyshell in itself, the general shape looks like a drop of water: the aerodynamic layout was probably one of Tamiya designers concern.
Now is the time to dedicate some efforts to the proud Avante driver, I mean Paranoid Perry  : well, “some efforts” actually means several hours painting and applying stickers.
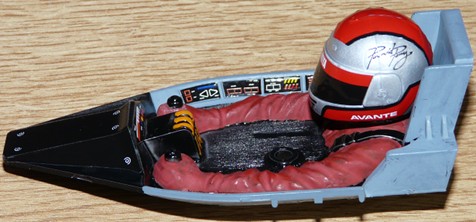
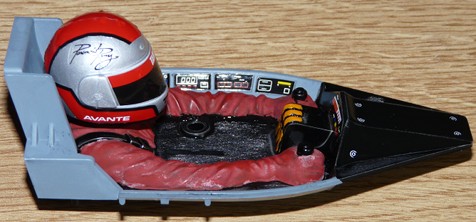
In addition to the matt black paint of the driver's cockpit, the manual recommends to paint some parts with XF-66 Light Grey paint: at close sight, the color doesn't look like a good match with other surrounding colors. Until the end of the driver's cockpit decoration, that color really looks unahppy (to me at least). However, once the driver's cockpit is mounted on the chassis, the bad looking aspect disappears: actually the final result is pretty nice, may be due to the the transparent lexan of the cockpit bubble. Anyway, a color looking so bad until the very last moment and then looking really nice once everything was finished a first for me.
Anyway. Paranoid Perry is installed and the driver's cockpit is quite unusual: very futuristic (the wheel was replaced by sticks), it better looks like an airplane cockpit... or may be an UFO.
Now is the time to apply their share of stickers on the bodyshell and the wing: this is a vintage model, so you will need to cut the stickers because there is no pre-cut.
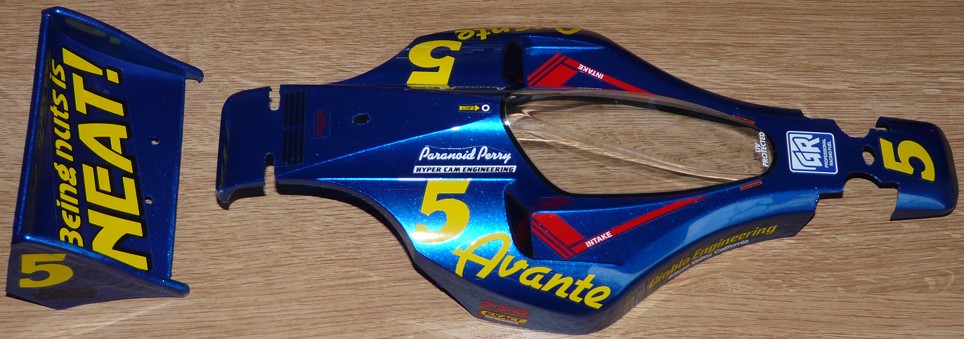
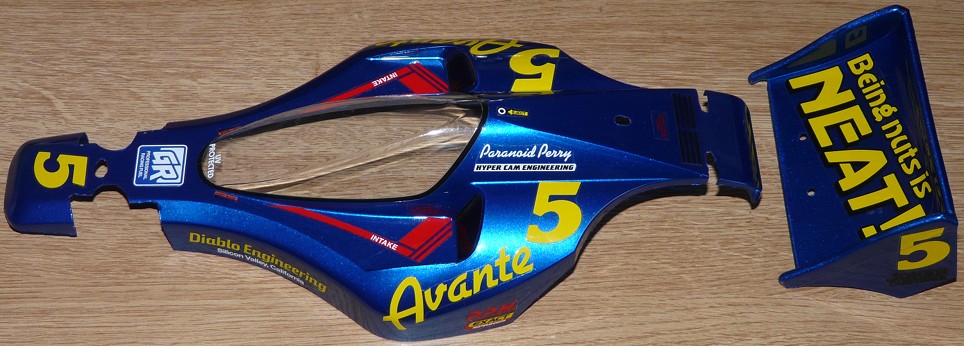
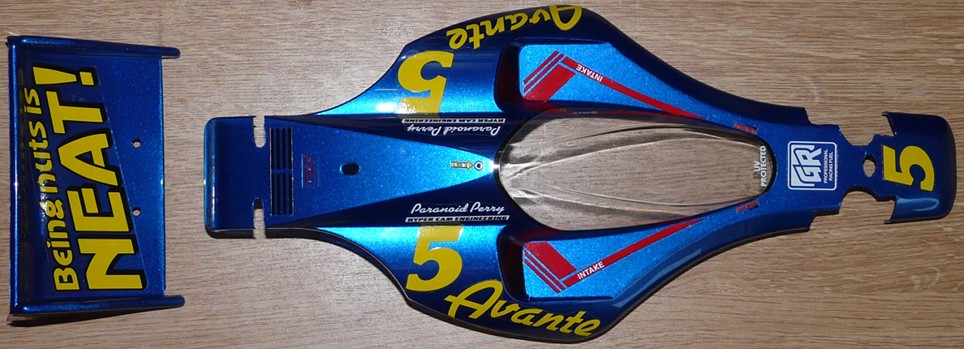
Overall, the decoration is “light”, but still, it requires some care. Several stickers can only be applied using the water+soap bath method: getting stickers wet before applying them makes them easier to reposition them precisely on the bodyshell (more details about this method in my article about my Citröen DS3 WRC).
I must confess that I took some time to contemplate the bodyshell once it was fully decorated. Not because I was so proud of my work (even if I did quite a good job with it), but because of the fluidity of the lines, the dynamic feeling you have when looking at it and the amazing decoration. The Avante is also a legend because of its bodyshell, even if it may not be the first argument that comes to mind when you contemplate the whole model.
I did not forget the lower chassis undercowl. There is a focus on the front and rear mounts:
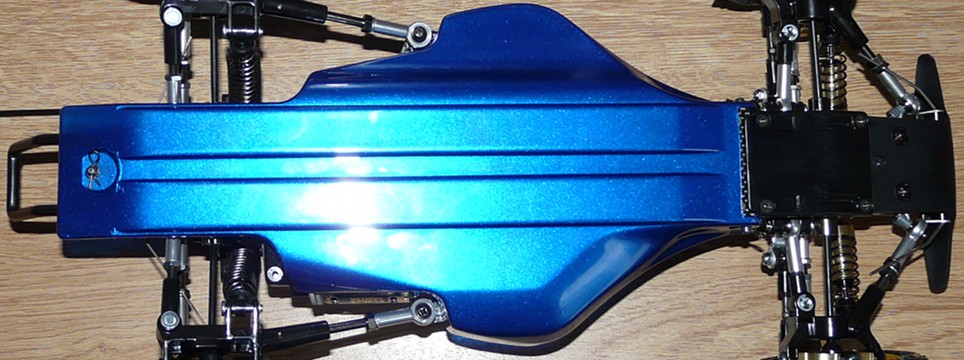
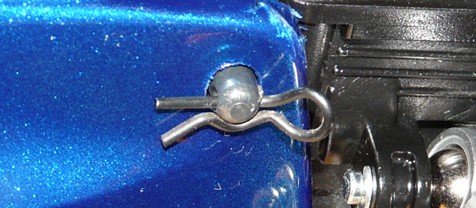
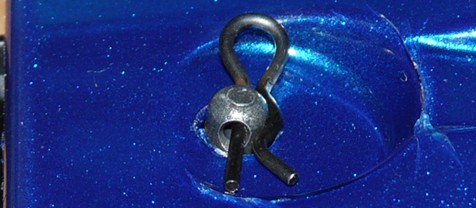
To my knowledge, the Avante lower deck width was quite exceptional for a buggy back in 1988. Actually, to better figure this out, know that the Avante lower deck is narrower than the F101 chassis (a Formula 1!). Even the F102 chassis released about 4 years later in 1992 is still wider on most of its length than the Avante's.
Time for a little more assembly after fitting the bodyshell on the chassis:
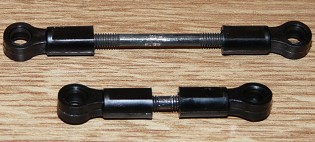
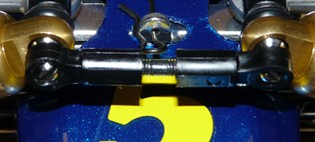
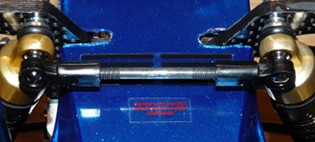
Two more links to build and then to fit on the font and rear damper mounts: now you can't remove the bodyshell unless you remove these links which role is to reinforce the damper mounts.
Last step to finish the build of the bodyshell (not the full model yet ![]() ), the rear wing and its mount. Here again, the rear mount is absolutely unique in the RC buggy history (as far as I know):
), the rear wing and its mount. Here again, the rear mount is absolutely unique in the RC buggy history (as far as I know):
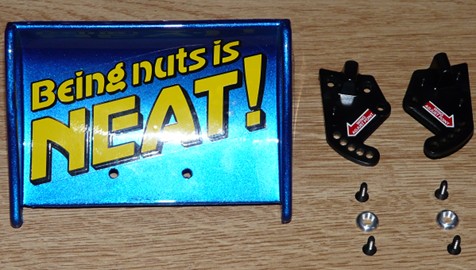
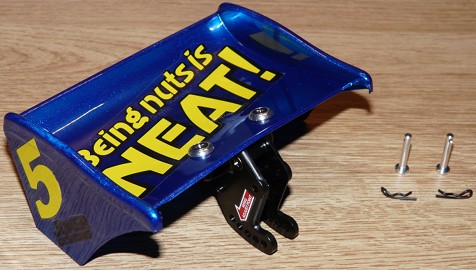
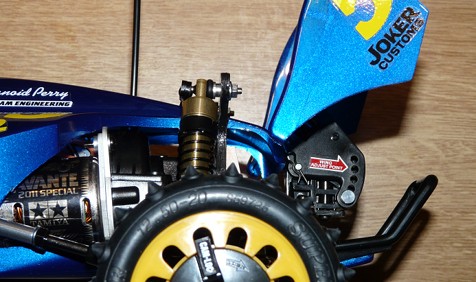
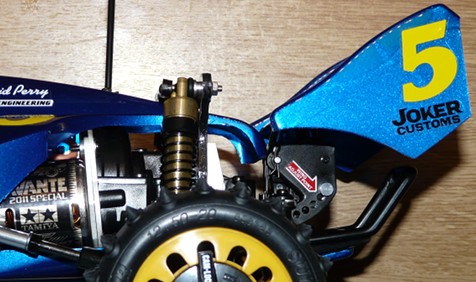
As you can see, the rear wing mount fits the rest of the chassis using two axles and two snap pins. The two first photos show the two maximum angles (over a total of 5) you can set the rear wing, depending on the amount of rear down force you prefer.
Hard to say how much the rear wing setup can influence the overall chassis handling: personally, I never really made the difference with or without a rear wing on a buggy, except when flying big jumps. I suppose the Avante rear wing setup do matter at very high speed (that my model will never reach) and also, as per logic, when flying jumps (that my model will fly with minimum risks). Nevertheless, choosing the down force on the Avante rear drivetrain is a very nice feature, may be useful but undoubtedly nice looking and mechanically interesting.
One question remains: we saw the bodyshell was not meant to easily grant access to the inner chassis because of the damper mount links. On the other hand, the lower chassis undercowl uses snap pins: this should be the way in (at least to insert the battery pack). Well, let's see this in the next section of the article.


