")
Assembling the Avante chassis: the drivetrains
Next is the carbon upper deck (on which edges you need to apply instant cement to protect it):
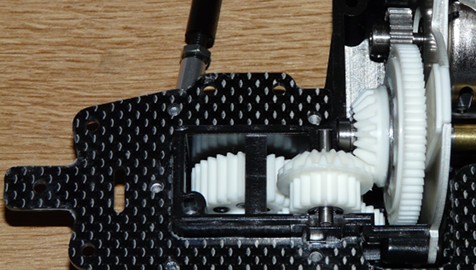
Now we insert the last gear before closing the rear gearbox. This gear is very important: it makes the link between the central differential and the rear drivetrain differential. But at the same time, it restores the angle between the spur gear and the horizontally installed rear drivetrain gears:

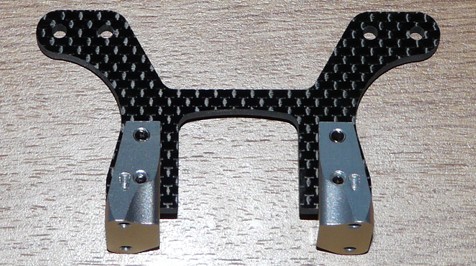
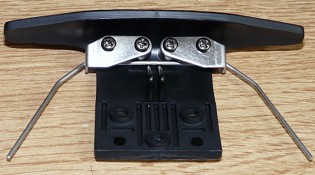
Building the carbon damper mount and installing it on the rear gearbox:
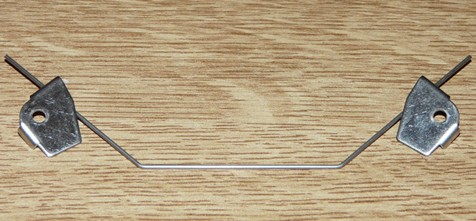
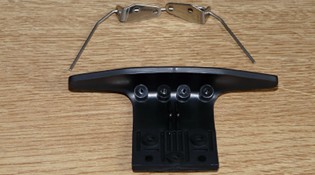
The anti-roll bar (or stabilizer) before and after installing on the chassis with the rear guard:
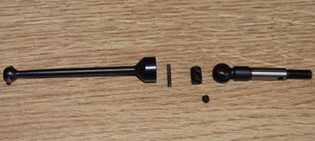
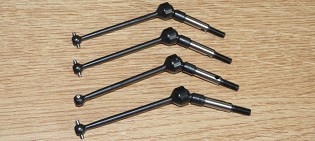
Building the rear arms links and the universal shafts. There are 4 universal shafts on the re-released version of the Avante: the original model only had one pair at the front.
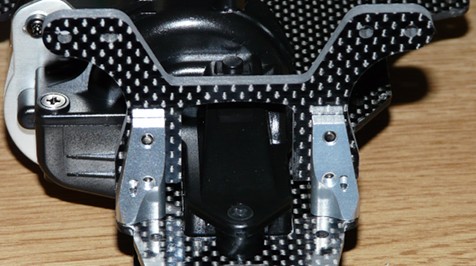
Building the rear uprights with ball bearings: note the steel wheel hubs. But first, we place the rear arms on the chassis:
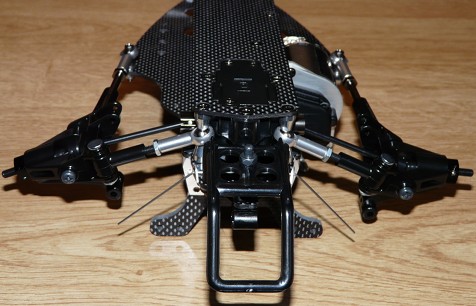
Rear drivetrain overview once the rear arms are installed:
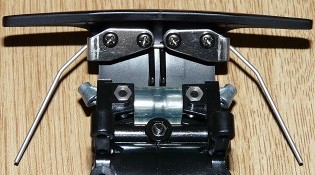
Building the rear upper arms links with the anti-roll bar guides before installing on the chassis:
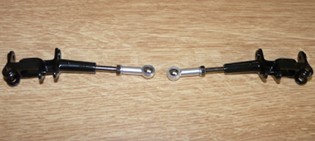
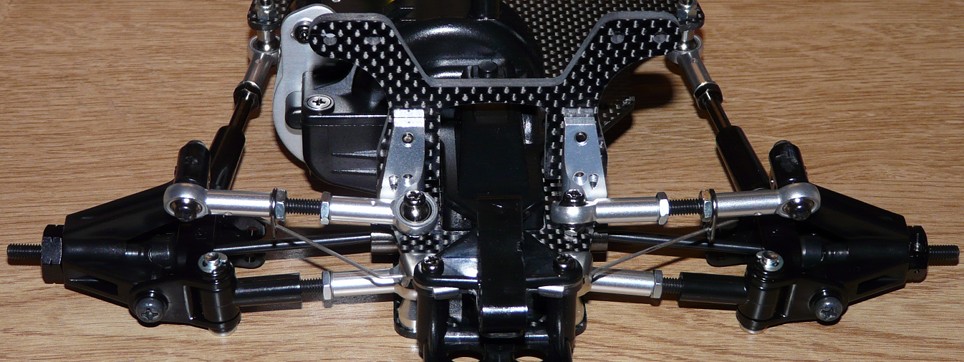
This is an overview of the completed rear drivetrain (minus the suspension): arms are only made of adjustable links mounted on uniball ends.
We are done with the rear drivetrain so far. Every bag and blister has been open to complete the build so far, a build that took me 3 half days until then. Because building the Avante is complicated: most of the steps require a moment of study before to start playing with the screw driver, at least to be sure you have prepared all the parts you need. Even though I spent some time shooting photos for this article, the Avante is not a kit you can build in just one day. Especially not when you first discover it, and even less because you want to take your time to enjoy building such a complex design: it simply deserves it.
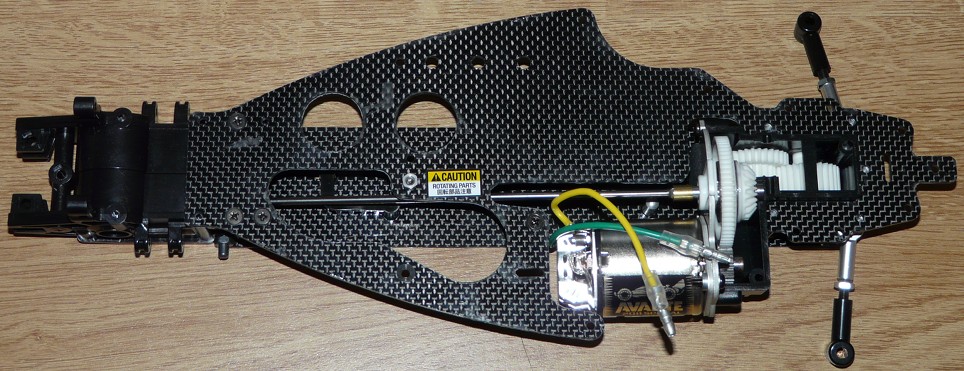
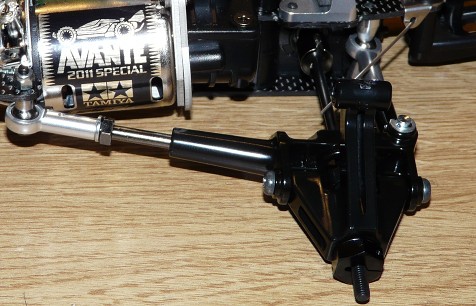
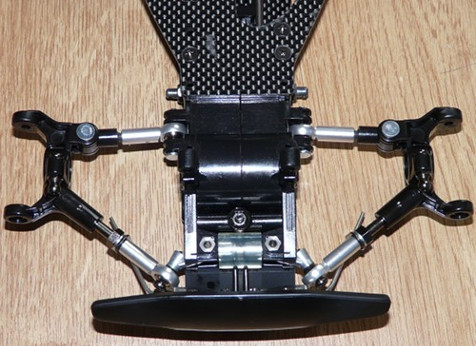
Next, we'll start working on the front of the chassis, in particular with the very original system to protect the front arms:
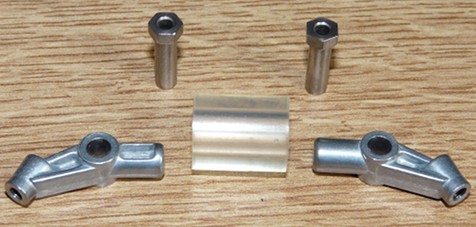
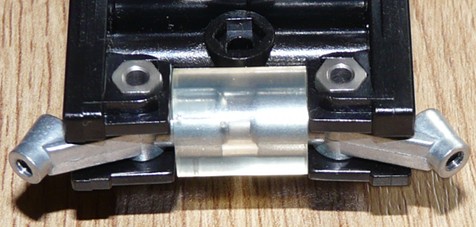
These are called rocker arms. As you can see, they are made of pivots joined by a rubber hose. Here's how they work: whenever one front arm takes a front shock (that is when the car moves forward and hits something), the shock will not be absorbed by the materials the arm is made of like with other conventional chassis designs (making the arm break or pulling / breaking the whole arm out of the chassis). On the Avante, the shock will be transferred by the arm to the rocker arm on the chassis, then the rocker arm fully absorbs the shock thanks to its play and the hose. This play is controlled by the hose flexibility which also ensures the arm recovers its normal position once the shock is absorbed.
Let's go further in the build in order to have a look at how the rocker arms work. To my knowledge, they are unique in the RC world:
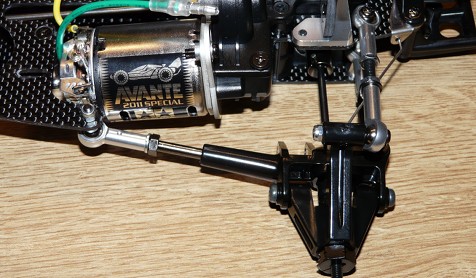
The photo shows the front drivetrain with everything removed, except the links forming the arms and the rockers arms. In case of a frontal force applied to one of the front arms, the arm will always tend to move backwards towards the rear of the chassis (from the bottom to the top on the photo): this is normal because a car is meant to drive forward. So the arm will move backwards (to the top on the photo): the rear link forming the arm (at the top on the photo) is mounted on an uniball end that allows this type of movement (as you'll further see in the build). At the front of the arm (the bottom on the photo), there is no uniball end but the rocker arm: the side of the rocker arm outside the chassis will move towards the rear of the chassis, but the side inside the chassis will move forward because of the pivot. Which means the rocker arm transforms the backwards movement of the arm into a forward movement that is transferred to the rubber hose that will absorb the shock.
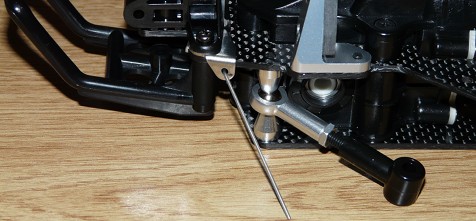
End of the technical aside, let's get back to the build and the mounting of the front anti-roll bar onto the front bumper:
 lié
lié
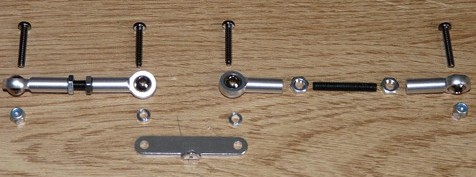
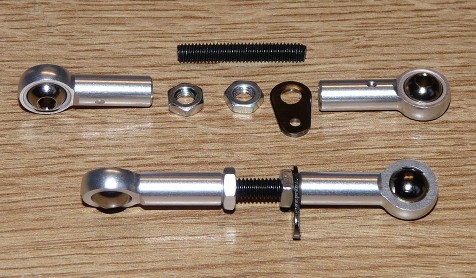
Now, building the front links, again with uniball ends, to make the front arms:
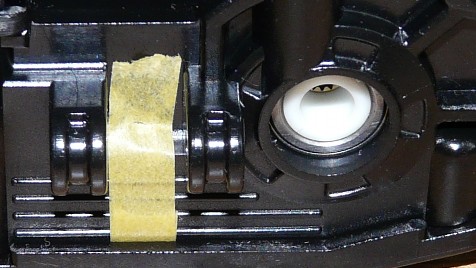
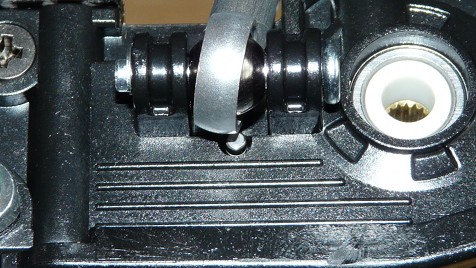
On the other side, there's a little problem: actually, since step 9 of the manual, a piece of masking tape temporarily secures the axle of one of the front gearbox gears. We are now at step 22 in the manual, and finally we can remove it (except that the manual “forgot” to mention it) because one of the links will now maintain the loose axle:
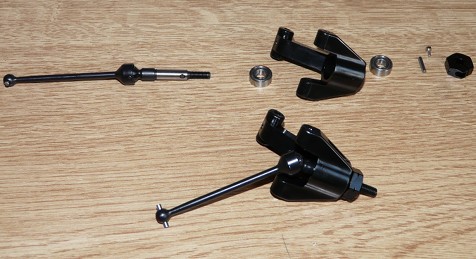
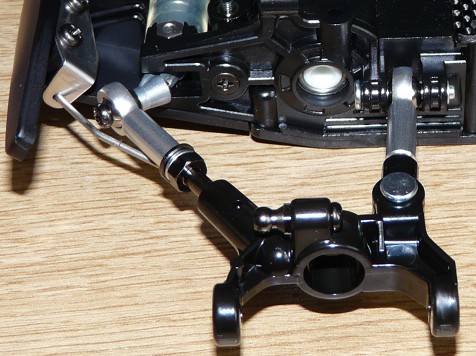
Next, the build of the uprights and C-hubs. The universal driveshafts were built together with the rear units:
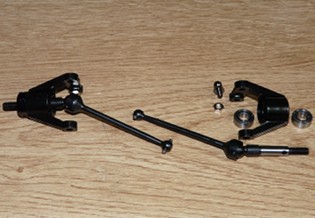
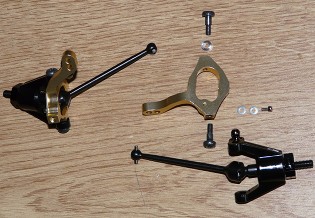
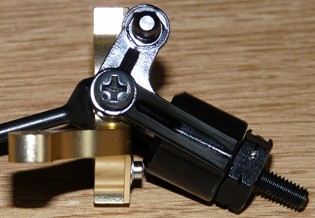
I was puzzled by the small screw and the 2 washers to install on the C-hub (photo 2): I couldn't figure out what they were meant for. Well, once you have built the whole upright – C-hub system, you understand: it a stop to limit the upright travel. Yes, just a simple stop, but this is an Avante stop: so one specific 2mm screw plus 2 washers were required  .
.
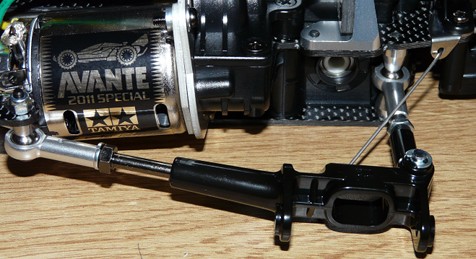
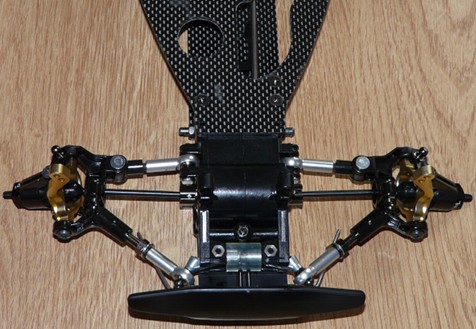
Once installed on the chassis:
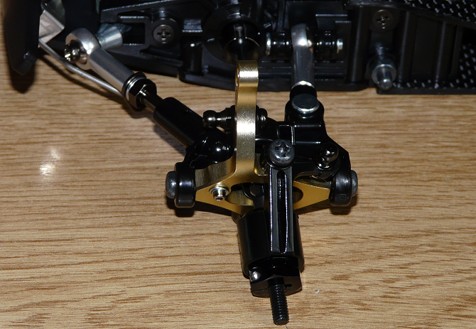
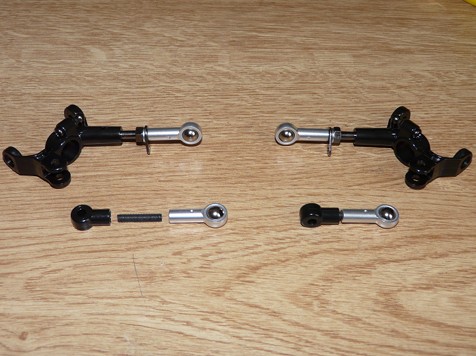
The upper arms links, also mounted with uniball ends: