Mitsubishi Pajero Metaltop Wide
This article is the sequel, but mostly a complement, to the one about my LandFreeder. Here, we'll detail the evolution of my LandFreeder into a Mitsubishi Pajero Metaltop Wide, but also for the most part, this is a general experience feed back about the CC-01 chassis and several upgrades after a few runs.
The Mitsubishi Pajero Metaltop Wide bodyshell
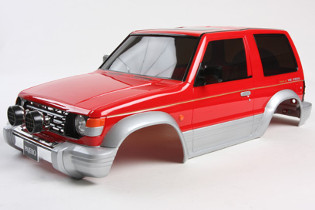
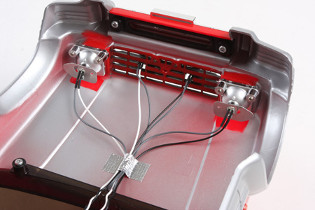
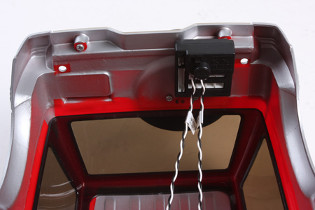
First and most visible change on my LandFreeder, a new bodyshell from the Mitsubishi Pajero Metaltop Wide (reference 57782) XB version: the bodyshell alone has the 8085595 reference number, but it is quite difficult to find. This ABS bodyshell comes painted in red and equipped with front LED lights (nothing for the rear). Here it is as presented on TamiyaUSA website:
As usual with Tamiya, the bodyshell is close to perfection, highly detailed and professionally painted and decorated. The smoke windows was a concern since I wanted to reuse the driver formerly installed in my LandFreeder. The smoke effect on the windows being an obstacle to see the driver, I found a clear lexan window when visiting a model fair in Germany:
Clear lexan windows for Mitsubishi Pajero Metaltop Wide
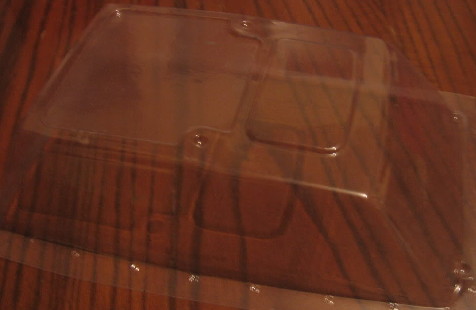
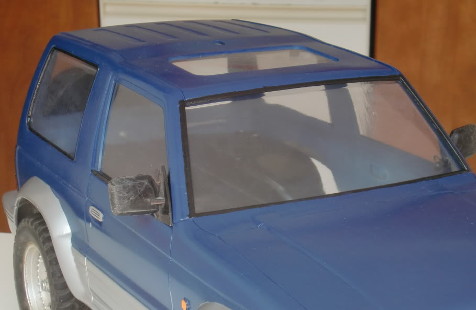
These photos come from a no longer active seller on ebay: to my knowledge, these clear windows have no longer been made and sold for years. You still can try to make it by your own using lexan sheets and using the stock smoke windows as pattern. I know I was very lucky finding mine by chance.
Update: thanks to my friend Jean-François, I was able to find who the seller of these clear windows. He still makes them and sells them on his website. It is only in German language, but it it pretty easy to find them: go to "Produkte" then "Shop" and then "Trial-Pickup". Unless the direct link changes, it should be right here: scroll down the page until you find "Klarer Scheibeneinsatz" with "für den Pajero von Tamiya" into the description with the photo of a Pajero bodyshell. To order it, I think you will have to contact him by mail (see the "Kontakt" menu).
So my Holiday Buggy driver (re-released version reference 19005086) could get his new wheel... after I made some changes because the Mitsubishi Pajero bodyshell shape is quite different from the LandFreeder's.
Making an interior for the Mitsubishi Pajero Metaltop Wide
Inside the LandFreeder, my Holiday Buggy driver fitted perfectly. With the Pajero, the driver needs to be placed differently on the chassis and I also had to "fill" all the gap behind it because of the new clear windows.
My first step was to completely change the cockpit location: instead of fixing it to the chassis, I will fix it to the bodyshell itself. That's precisely one of the advantages of ABS over lexan, so I am going to use the front anchors of the stock windshield. Second, I used styrene to increase the driver cockpit width and to make it go much further to the rear of the bodyshell:
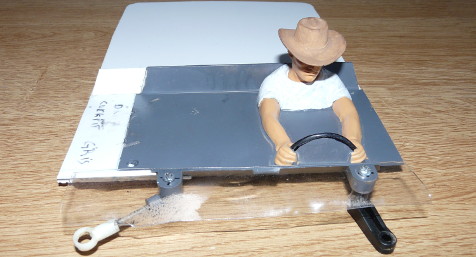
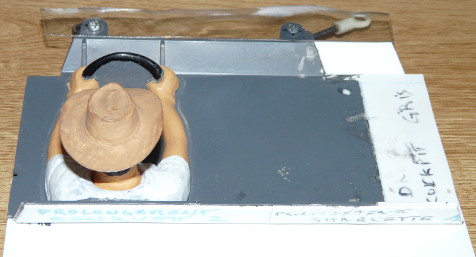
I wish I could have better detailed this interior: David, my friend from RC 4 Old Nuts taught me the technique, but my talent and patience couldn't reach his art. After painting:
Interior fitted inside the bodyshell
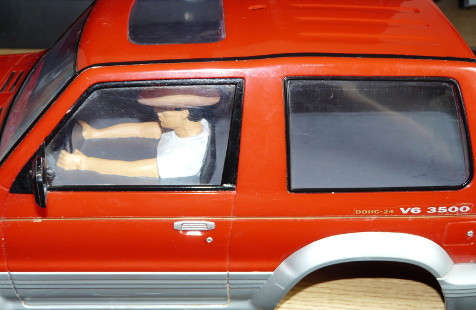
Behind the scenes
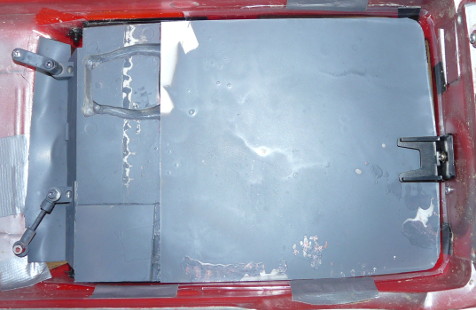
As previously mentioned, the cockpit uses the front stays of the stock windows. At the rear, because of the weight and flexibility of styrene, I added something to maintain the cockpit using one of the spare wheel stays. This part comes from an M-Chassis: it is the one used as battery door. You can find it on M-Chassis and TL-01s. Another part helps the cockpit to fit properly: you will see it further in this article.
Last detail about the bodyshell, windows joints:
"Factory" bodyshell
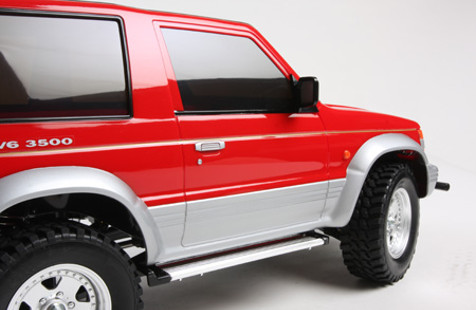
Mine

Of course, this is only a detail, but I was quite surprised by the lack of window joints on the doors: all others, including the windshield's are there and perfectly done on the XB bodyshell. Only these ones seem to have been "forgotten": a bit of X1 paint (to match the gloss of other joints), a brush and you're done. By the way, drawing a joint for the sunroof wouldn't be a bad idea (which I hadn't think of yet at the time of the photo ![]() ).
).


