TL-01 chassis preparation
The first thing is a full disassembly and careful check: anyhow, I had to check if the 24 1150-type ball bearings were there. Next upgrade, hydraulic dampers. Last, I added 7mm thick 3Racing aluminum hexagons (reference 3RAC-WX127/LB) just for the ease when changing wheels. That's it for this chassis only meant to be a trainer.
The chassis before
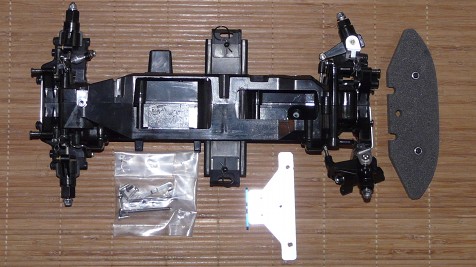
... and after
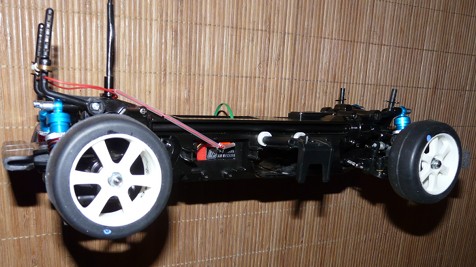
As usual, I added my little personal touch to this chassis. In order of appearance: installing the receiver, making longer battery stays and securing rear body mounts.
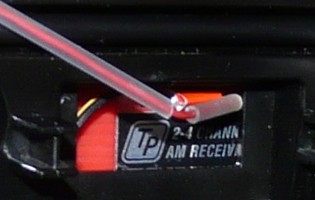
The receiver
Longer battery tray
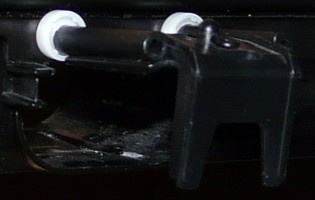
Reinforced rear body mounts
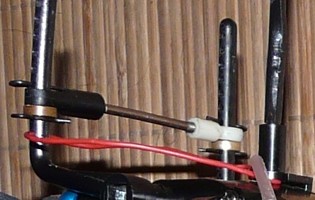
I meant to install the receiver vertically so that the crystal can still be changed through the hole meant to received the mechanical speedo on the original chassis. Battery stays were lenghtened using simple 1150 plastic bearings: because my new batteries are longer than the previous ones, I needed these extra millimeters.
At the rear, I added a turnbuckle and two damper stays to maintain the distance between the two body mounts. Here again, I used 850 bronze bearings as spacers. I thought I would need this since I had to find room for my antenna wire extra length. By the way, the first photo shows antenna tube leftovers I used to protect the antenna wire from the propeller shaft. Finally you see black tape on the antenna tube (last photo): it is meant to avoid the bodyshell to cut the tube (and the antenna wire) in case my car would decide to run on its roof on its own ![]() .
.
TL-01 chassis: suspension
Just a note about Yeah Racing dampers : these are not Tamiya's CVAs! With Tamiya's, you fill them with oil, you add the oil seal and screw the cap to the max: that easy. With Yeah Racing's, assembly is not more difficult but you must not screw the cap to the max: only screw it until it resists. If you screw it to the max, the oil seal twists and the dampers leak. This is obvious once you know it, but before that you spread oil everywhere ![]()
The basic setup idea for on an on-road vehicle suspension is to have suspension stiff at the front and soft at the rear. The good question is why? The correct answer is: because . From what I understand and experienced at the track, a stiff front suspension reduces chassis roll (when the suspension compresses and makes the car balance) and thus will force the tire to stick to the road surface (this avoids oversteer). But here comes the tire grip question: either the car looses grip and oversteers or tires still grip and the car rolls over. From this, you set the rear suspension to soft in order for the rear inner wheel suspension to compress: this lowers the rear of the car. With low grip tires, the rear drivetrain will loose grip and compensate the front oversteer (within limits): the whole car slides. With high grip tires, you limit the risk of roll over (again, within limits).
Concerning dampers, track conditions and chassis characteristics determine their setup. To make it simple, I used two hole pistons both front and rear, blue springs at front and red springs at rear. About spring colors, theory is this one: blue (stiff), yellow (medium), red (soft). This standard is pretty much followed by all manufacturers. As you could expect, manufacturers mix everything as soon as they offer a wider range of springs. This is Tamiya's color chart, from hard to soft:
Purple

Gray

White (short)

Blue (short)

White

Blue

Yellow

Red (short)

Yellow (short)

Red

Of course, expect different colors and even color inversions when considering other manufacturers' products (not even considering spring diameter). No one is right or wrong since there is no standard: in my humble opinion, this lack of standard is a mistake. Anyway.
About "stock" springs found in Tamiya kits... they are whether stiff or stiffer... or soft or softer, it depends from where the wind blows.
Another important suspension aspect is whether there are stabilizer bars. The way they work is quite simple: without stabilizer, when a wheel suspension compresses the opposite wheel decompresses and make the car balance. Stabilizer (or anti-roll) bars will revert this: when a wheel suspension compresses, the opposite will compress too making the car to lower its ground clearance. So the car remains longer "flat" allowing the outer tire to still touch the ground. Of course, when entering a corner too fast, you reach the limits of this system: either the tires loose grip and the car slides or the tires still grip and the car rolls over.
Stabilizer bar
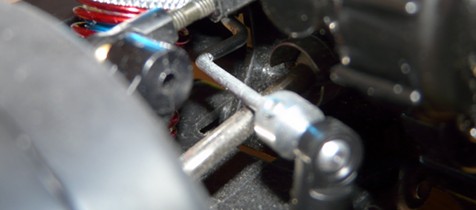
Suspension at rest
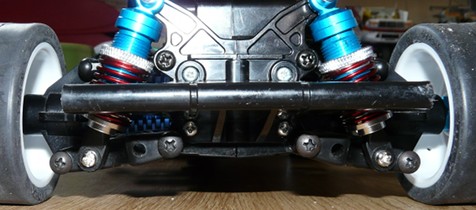
Without stabilizer
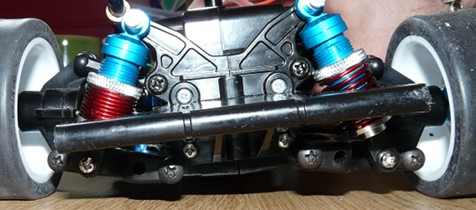
With stabilizer
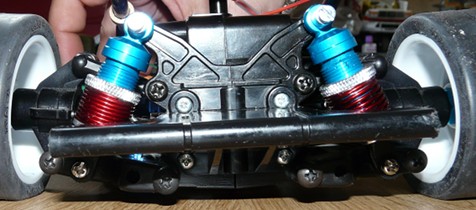
Please note the above are exaggerated on purpose to help understand how this works: such constraints on a track will send your car to the moon. Both damper setup and stabilizer bars are only there to help limit physical constraints the chassis has to deal with: they will never protect a car from its driver's enthusiasm.
Last note: the green thing you see at the right on the second and third photos is my coffee mug. It may help to setup a chassis, but it is not required ![]() .
.
Enough theory, this is what stabilizer bars are meant for in real track conditions:
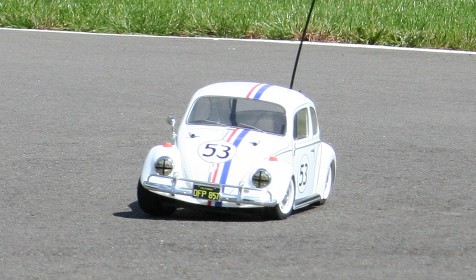
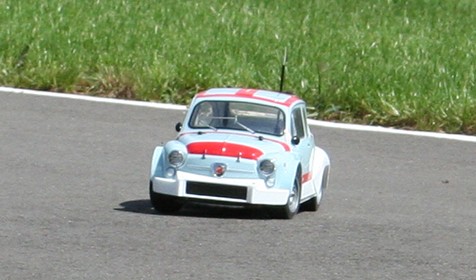
The above models are Tamiya M-02s.


