The Dyna Storm chassis
One of the Dyna Storm most reviewed mechanical aspect is the gearbox, and more especially the slipper or MDC (Multi Disc Clutch) as Tamiya named it. In fact, it is the evolution of the Super Astute TTC (Tamiya Traction Control): similar function, this time using 7 disks. We'll have a closer look on this later on.
After a full disassembly and exhaustive check-up, the chassis is in perfect condition. Installing all the electronics is a straight natural easy job... almost:
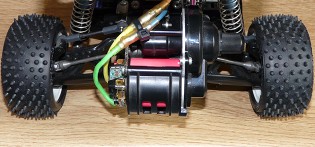
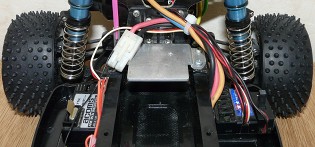
First of all, the motor: this is a Dyna Storm Special found at a very reasonable price on ebay. It is the perfect complement to my chassis. If I hadn't found this rare pearl, I would probably have first installed a Sport Tuned motor for the first runs before perhaps installing a SuperStock BZ.
To manage the motor, a TEU-302BK speed controller: I am not sure it can handle this 14T motor since the ESC limit is 17T. I'm betting both on the fact that period 14T motors were not as demanding as modern ones and on the power limit I will probably set on the radio to reduce risks. Not sure this will suffice though.
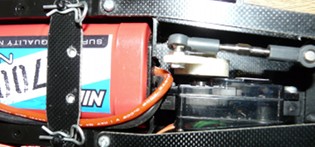
Then, the aspect that bothered me: a cut into the battery tray that was meant to receive period battery packs. Due to the increased capacity, modern battery packs are slightly longer than packs from the early 90's: unfortunately, these extra 3 to 5mm are out of the period specifications. Cables got so extremely stressed that I had to make room for them not to damage connections.
Last note: the pink antenna tube. Pink because it matches the motor and shows how happy I was when I found it ![]() .
.
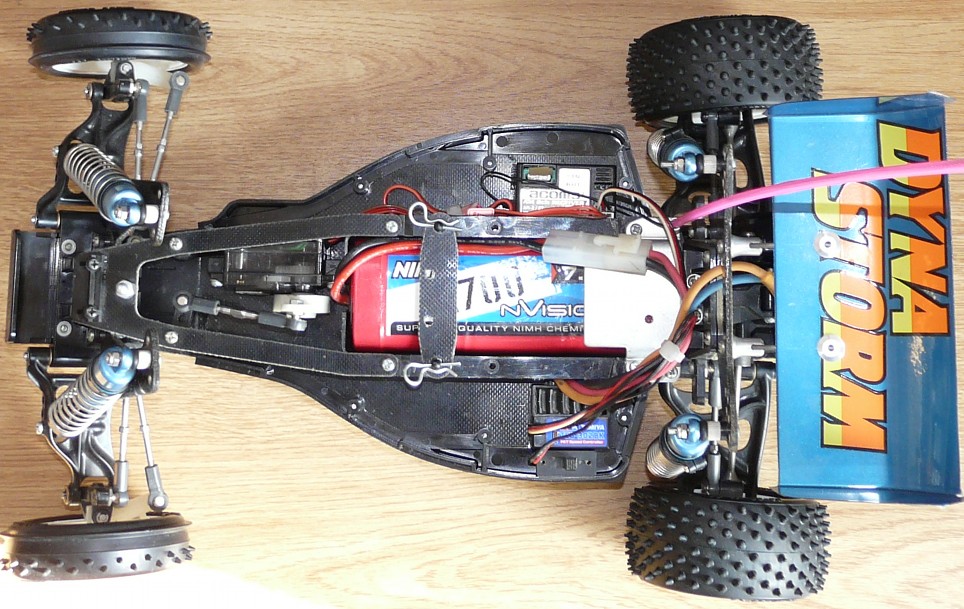
My Dyna Storm is now ready to run. You can notice how close the battery pack cables are to the steering servo head: this is why, in addition to the battery stay cut, I use the battery door to firmly maintain the cables.
Outstanding aspects of the Dyna Storm chassis
Before going to the track, let's have a closer look to other chassis aspects: at the first sight, I was immediately surprised by the front drivetrain whereas the rear looked, at first, to resemble my Madcap's.
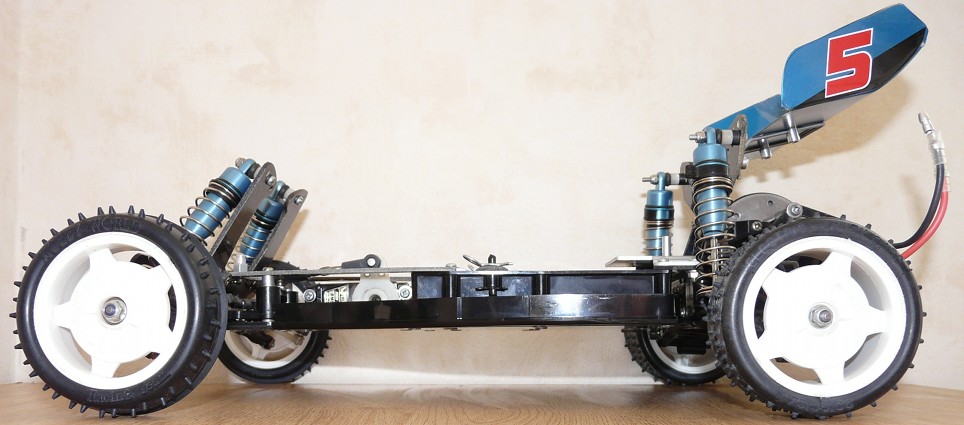
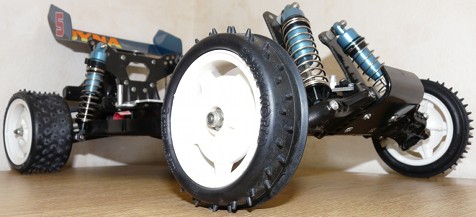
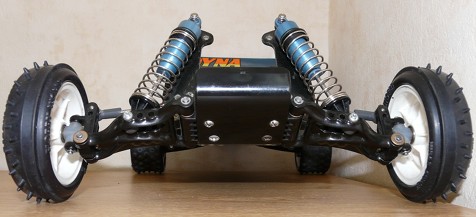
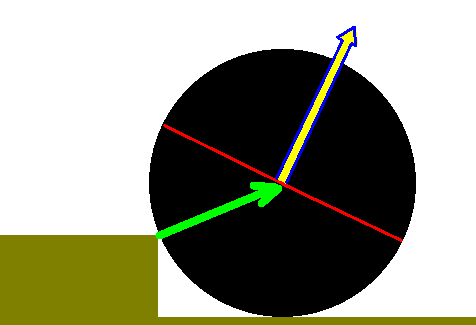
The photos focus on the front drivetrain angle to the chassis bathtub: the front arms angle is far from being horizontal. Actually, this is the strongest anti-dive angle on any model from my collection. Apart from the "killer" look, the anti-dive setting has advantages:
No anti-dive
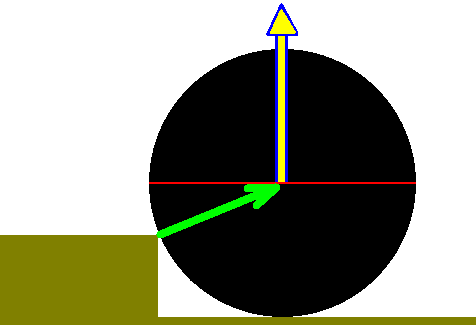
With anti-dive
Note to specialists: this is a simplified explanation. Pardon the lack of precision.
These drawings represent the vectors of forces applied to the front drivetrain when it hits an obstacle (bump, stone etc...). The red line represents the arm, the green line represents the effort applied to the wheel when hitting the obstacle and the blue-yellow line shows how the arm will transfer the impact to the suspension (ie the damper rod).
Without anti-dive, you can see the angle between the arm and the suspension will not help transferring the effort smoothly: the arm will absorb most of the impact, with a risk of breakage and an obvious lack of suspension efficiency. With anti-dive, the angle between the arm and the suspension is reduced, reducing the strength of the impact absorbed by the arm. The arm will transfer most of the impact to the suspension, which function is precisely to absorb shocks.
Anti-dive benefits are to reduce mechanical constraints applied to the front arms and to transfer shocks as naturally as possible to the shock absorbers, thus improving suspension efficiency. The influence of this setting over the chassis handling is an improved stability in straight lines and a better front drivetrain grip when exiting corners. However, the anti-dive setting counterpart is a loss of front drivetrain grip (thus traction on 4WD vehicles), and more generally, a vaguer steering, especially when entering corners.
Next major impression when observing the chassis: a higher than usual ground clearance. In order to check this, I made a direct comparison with my Sand Viper DT-02 chassis:
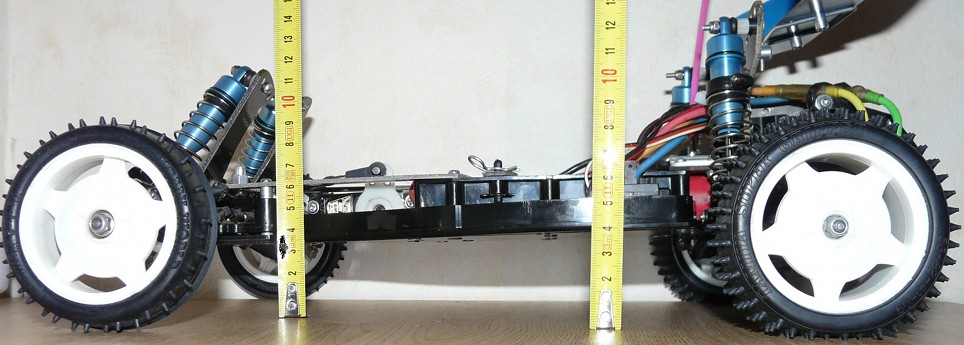
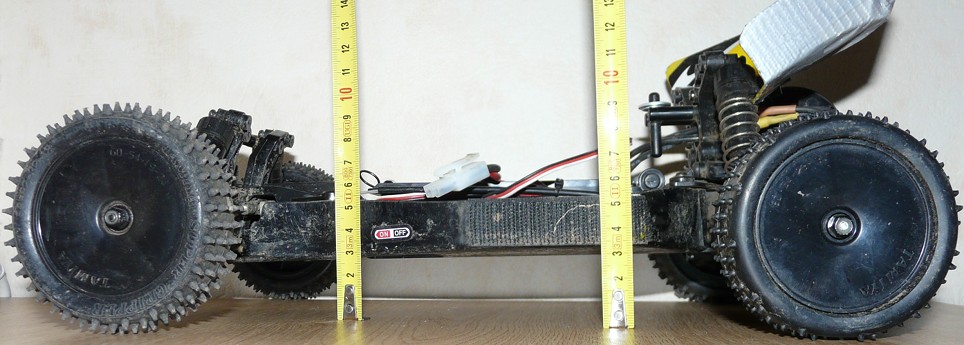
No doubt: the Dyna Storm ground clearance is about 1cm higher when compared to the DT-02 chassis. However, when measuring how high is the highest bathtub chassis element (the battery stay door), the value is the same: about 6cm. Conclusion: despite a noticeably higher ground clearance, Tamiya designers did their best to keep the center of gravity as low as possible. In fact, when measuring the overall height between the ground and the highest point of the rear gearbox, the value is again very similar (about 11cm). Only the rear shock towers and the wing are higher than on my Sand Viper. In the end, the center of gravity on both chassis is about the same, but one of them offers a ground clearance almost 1cm higher.
These observations on the Dyna Storm chassis give us clues on how RC evolved over the past 20 years, at least as far as Tamiya 2WD buggies are concerned. The front drivetrain design clearly shows that the Dyna Storm was made for very bumpy and fast tracks. The high ground clearance also implies that the Dyna Storm was made to run on tracks opposed to what "flat" means (thus bumpy, not to say a succession of potholes). No surprise here, this was the most common description of off-road tracks in the 90's: quite fast, very bumpy and in an overall running condition that we would almost consider as not suitable by today standards.
Even if the DT-02 chassis can't be considered as a modern racing reference, its design shows that track profiles have changed a lot, otherwise, it would spend most of the lap sweeping the ground. In fact, modern off-road tracks are so flat and packed that you can drive your TT-01 around (apart from jumps of course). Besides, lots of today's off-road track are indoor and you run on carpet.
Personally, I prefer a true dirt track that "shakes" the buggy: my opinion is that this better describes "off-road" than carpet. However, I must admit it is a lot easier to clean a model after running on carpet and that you can keep your hands much warmer indoor, especially in winter. As years went by, it seems that off-road RC tends to become more comfortable for drivers ![]() .
.


