Martini Porsche 936 Turbo
This project came up because Tamiya decided to re-release this bodyset back in 2012 under the reference 84303 (limited series). As soon as the bodyset was available, I bought one... with absolutely no clue on which chassis I would fit it on ![]() .
.
ometimes, I think my pathology is getting worse because at the time of my Toyota Celica LB Turbo Gr.5, I already had some ideas about the chassis before I bought the bodyset...
The Martini Porsche 936 Turbo family
Like my Toyota Celica LB Turbo Gr.5, this bodyshell belongs to a series of 4 models featuring highly detailed and realistic 1/12 scale bodyshells.
58006 Martini Porsche 936 Turbo (1978)
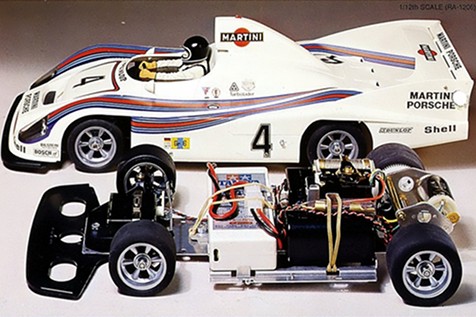
Boxart
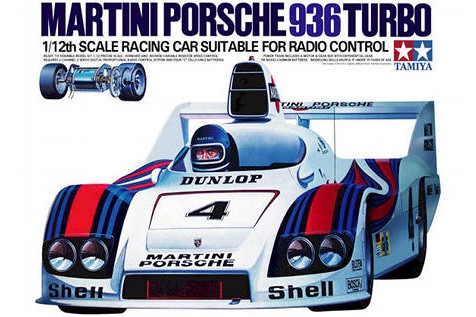
The model at Tamiya Museum
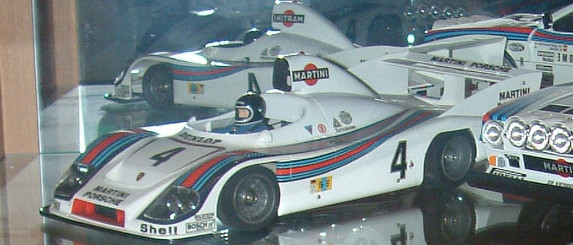
The real car
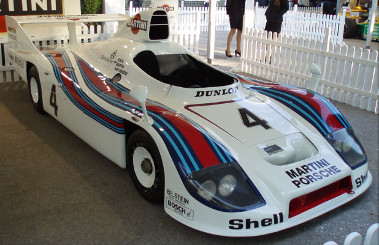
Photos © Tamiya and Wikipedia
You can see that the model presented at the Tamiya Museum doesn't wear the correct shoes: it shows the CS version set of wheels (foam tires) when the original model had the kit 58001 Porsche 934 RSR set of wheels. Models sharing the Martini Porsche 936 Turbo chassis:
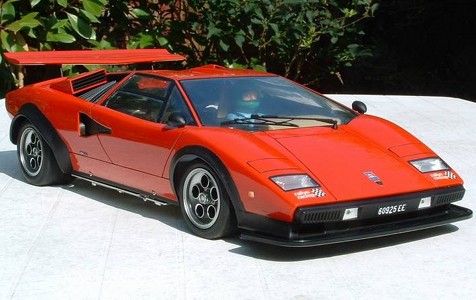
58005 Lamborghini Countach LP500S (1978)
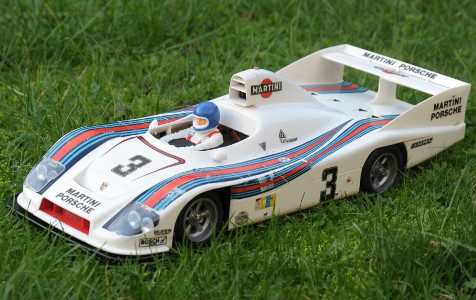
58006 Martini Porsche 936 Turbo (1978)
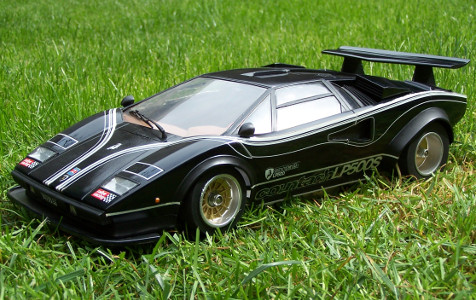
58008 Lamborghini Countach LP500S (Competition Special) (1978)
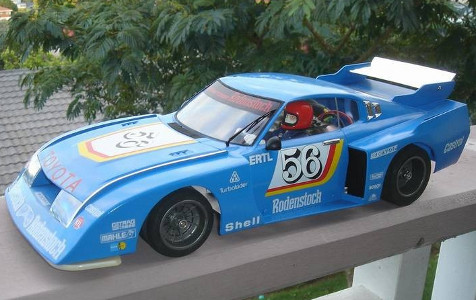
58009 Toyota Celica LB Turbo Gr.5 (Competition Special) (1978)
That's for the presentation. Now, let's see the bodyshell in itself.
The Martini Porsche 936 Turbo bodyset
As mentioned in introduction, this is the re-released edition in limited series from 2012: it is strictly identical to the 1978 original. In addition, it is now compatible with the new RM-01 chassis (this may explain the re-release). This ABS body features many parts, and of course, a full sticker sheet showing some very large bands that will undoubtedly offer some "moments".
The very first step is to carefully study the manual because the assembly is not as obvious as it may seem. The recommended color for most of the bodyshell is the TS-7 Racing White: from my experience, this paint better looks like a "pearl white" than a pure white. That's why I preferred to use the TS-26 Pure White instead. The drawback with this paint is that it is more complex to use because it is more liquid. Anyway, you first need to apply primer coats to prepare the bodyshell for the paint:
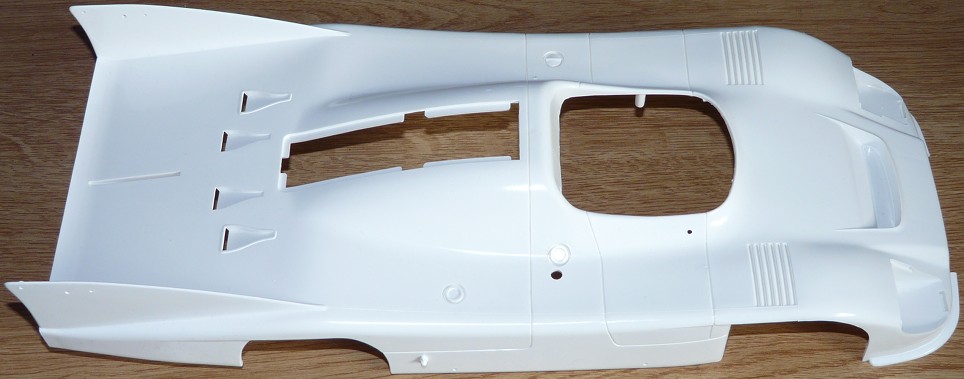
Next, you apply several very very light coats of paint until you get the final result you want. Then assemble and glue the additional parts:
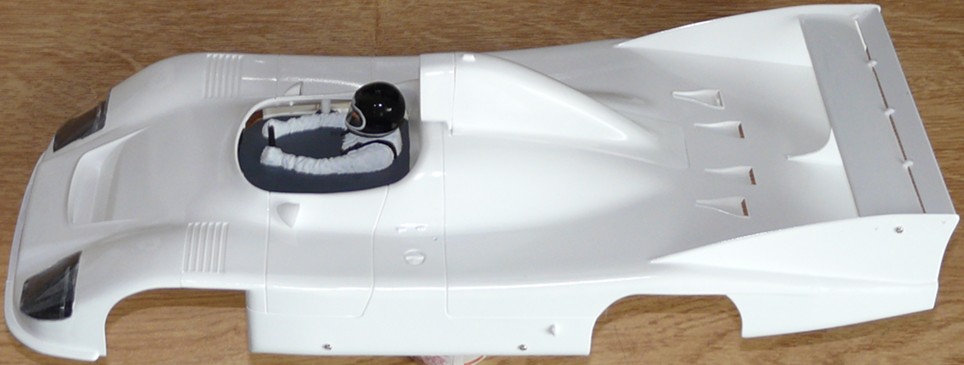
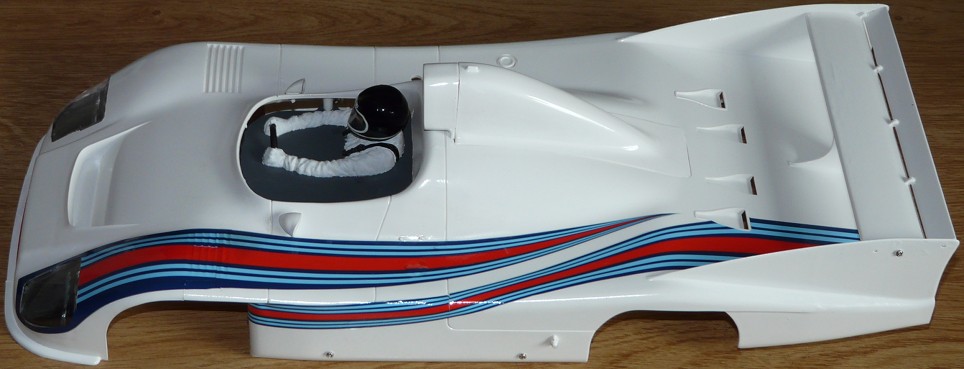
Now, applying the stickers, especially those very long Martini bands that will do most of the decorating job on the bodyshell. So, these are the ones you don't want to miss, and these are the exact ones the manual recommends to start with. The best technique is to first sink the sticker a few seconds into warm water (in which you added one drop of liquid soap) right before applying the sticker onto the bodyshell. The water creates some kind of bed under the sticker (like aqua-planning) which allows you to smoothly adjust the sticker placement by sliding it on the bodyshell. Once you get the correct placement, sweep the excess of water with a soft rag.
Result after applying the first 7 stickers:
Several hours later, the bodyshell is entirely decorated. The remaining details were made using acrylic paint and markers:
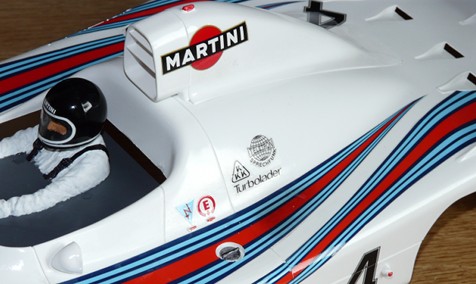
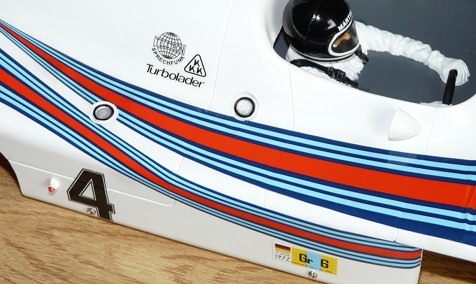
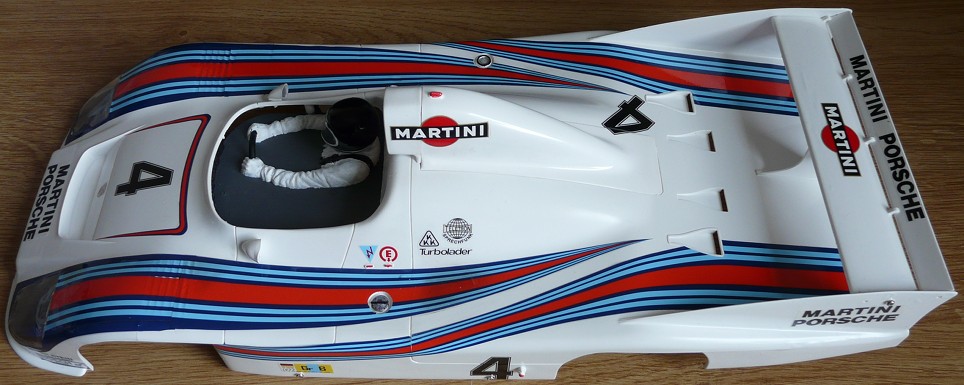
Definitely, this bodyshell is difficult to decorate. But if you take your time, you'll be granted with an amazing result: the Martini Porsche 936 Turbo is gorgeous!


