
")
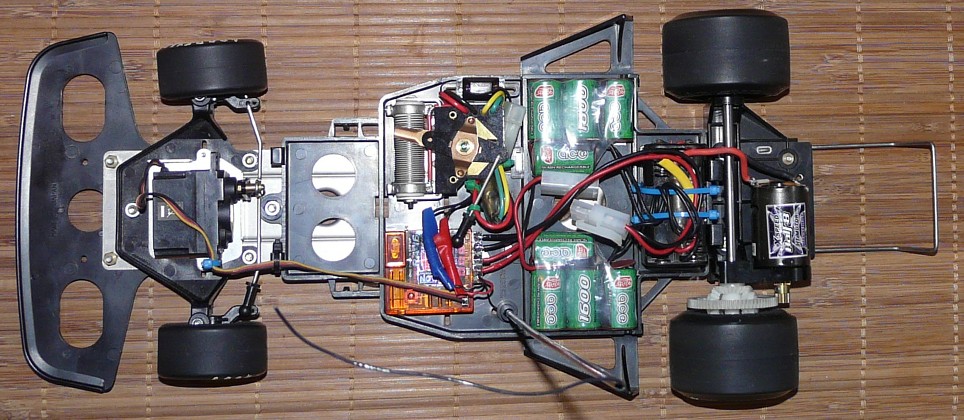
The Martini Mk.22 Renault F2 chassis
As usual, I disassembled the chassis, cleaned it and checked if everything was there. Apart from missing screws, it is complete. But there was a bad surprise at the front wheels: the plastic is extremely fragile. So fragile that unscrewing the wheel nut broke the upright. In fact, the wheel axle is a notched piece of metal around which the upright is molded: when unscrewing the wheel nut, the constraint goes over the axle and the plastic doesn't resist to the rotation effort.
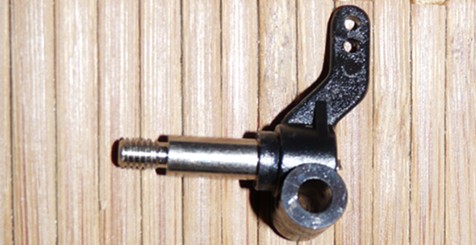
A new upright
A broken upright
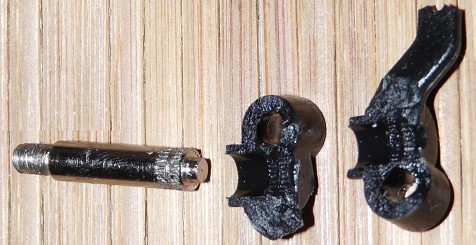
Result: one upright is definitely broken and needs a replacement. By chance, this is the one that had the broken steering arm where the ball connector fits. But the other one is cracked too so I decided to replace both.
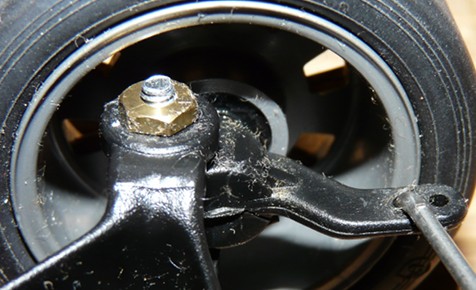
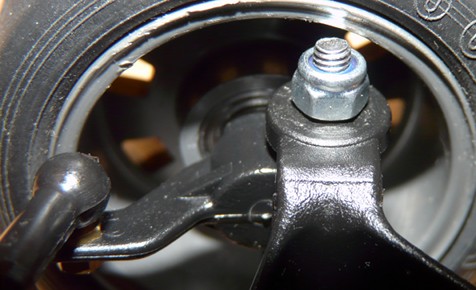
If age can explain why the plastic broke at the wheel axle junction inside the upright, it doesn't explain why the steering arm broke. In fact, the ball connector is screwed onto the upright but a nut is added below to better maintain it. In order to resist to vibrations, the manual says that the nut requires a drop of cement. Lethal mistake: even if the cement goes between two metal parts, the nut touches the upright plastic. However, cement alters plastic and makes it very fragile. This same error is repeated when assembling the upright rotation axle: this is the reason why I used a different screw and a nylstop nut.
The rotation axle as per the manual (right wheel)
The "no cement" version (left wheel)
I could have tried to repair the whole upright by gluing it, but if this could make it for a model meant to stay on a shelf, it is not recommended for one that will hit the track. A new set of uprights showed on ebay (quite cheap, by chance) so I replaced mine. The first photo above shows a crack at the lower junction of the steering arm. I didn't find a solution to fix the ball connector from below on the upright arm because the thread is no long enough to fit a nylstop nut.
The other chassis parts I had to seriously work on: the motor and the battery pack. About this last one, the current stick format is too long for a tray designed for 5 element Ni-Cad packs (in 6 volts). The bad surprise was that a 6 element hump pack does not fit either due to the lack of height under the bodyshell! Only two solutions remain:
- to use a Tamtech pack (solution that I finally used on my Toyota Celica Gr.5)
- to use another solution that you'll see below.
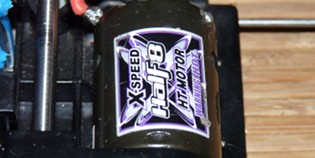
The fact is that I also wanted to replace the Mabuchi RS-380 motor with a 540 because my experience with my Tyrrell P34 taught me that the 380 really lacks power. The period hop-up to mount a 540 motor is extremely rare and expensive: I needed the performance of a 540 motor in a 380 format motor considering the motor rotates the opposite way of normal.
I asked the question to the Vintage-RC forum members and I ended by trading with dibjm who sold me the following equipment already wired and ready to use:
Kyosho X-Speed Half8 HT Motor
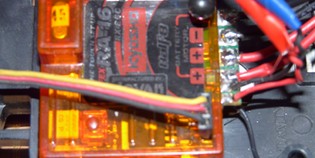
Kyosho Perfex RA-16 ESC-Receiver
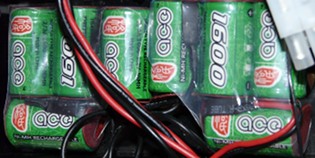
1600mah Nimh 9.6V batteries
This solution reveals several interesting features:
- the RS-380 format motor is pretty powerful (for its size): it belongs to Kyosho's Mini-Inferno (a 1/18 scale buggy). It is meant to work with a 9.6V power.
- the electronic speed controller features a 27MHz AM receiver: it is designed to work with that motor and saves a lot of space on the chassis.
- the battery pack has a pretty low capacity but it is very small. Most of all, it perfectly fits into the chassis tray and its 9.6V will boost the motor.
After I gave it a quick try, it shows performances that seems pretty superior to a Mabuchi RS-540's. Hard to be more precise since I could try a 540 on this chassis to compare, but the performance level seems close to my Footwork FA-13. And I think this is quite a lot for my model: I will have to be cool on the throttle stick.
The rest of the electronics is only the steering servo since everything else was reviewed above. It was close to be a straight fit: current servos have a different shape compared to their ancestors about 30 years ago. So it needs to be located a little bit differently onto the positioning grill. Something to consider about the steering servo: it needs to be double-taped onto a grill that you screw on the chassis. When screwing this grill, you'll notice it can slide laterally on the chassis so that the servo alignment changes: in fact, this is the mechanical version of the steering trim setup. I had never seen this feature on any previously released other Tamiya model I own. This detail is quite surprising: either the previously released models never were able to run straight unless the steering servo was perfectly aligned (which would mean the period transmitters had no steering trim), or the period transmitters already featured the trim setup (I believe so). But in this last case, I confess I don't understand why Tamiya offered this mechanical trim setup on this model.
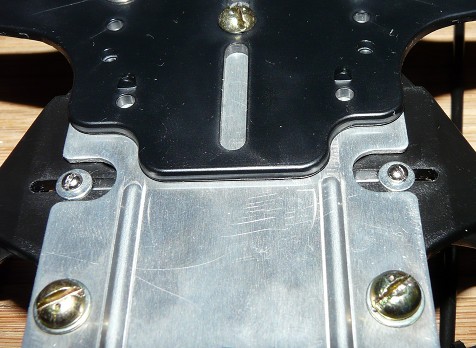
Steering servo
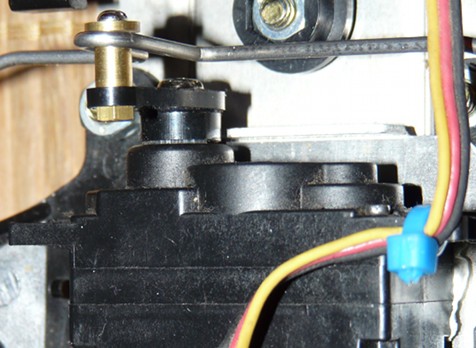
The mechanical steering trim setup
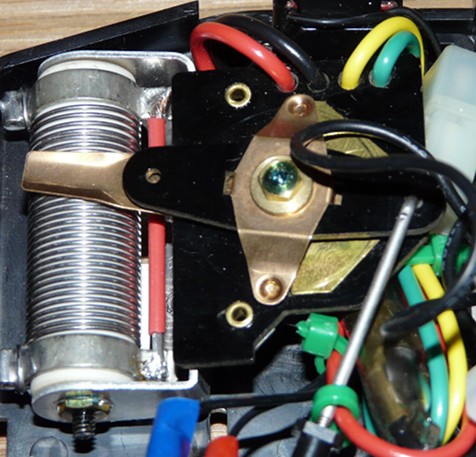
Thanks to the combined ESC/receiver small size, I was able to install the mechanical speed controller on the chassis: of course it can't be operated but it adds an authentic vintage detail. Because I had room for it, I also installed a receiver battery holder that I only use to both protect the motor cables from the transmission shaft and to store cables extra length.
The "vintage touch" mechanical speed controller
The receiver battery holder to store cables
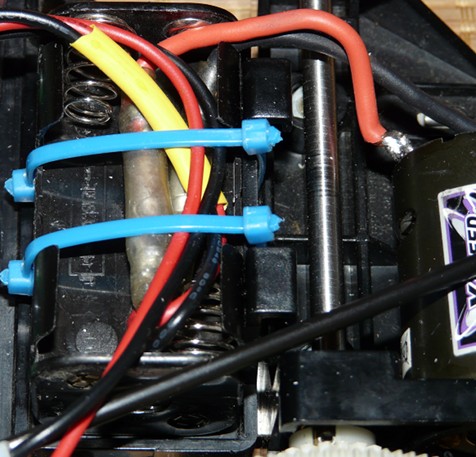
The chassis is now finished, cabled and tested. The empty space in front of the main deck is meant for the receiver so it will remain empty on my chassis.
Because I couldn't find any other solution to fix the battery pack, I simply used double-sided tape to fix it on the chassis.
