Blackfoot Xtreme
It took me a long time to come back into RC models. I was wondering whether to go for 4x4 "big wheels" which are often dual motors for more power, or for 4x2 simpler models. I finally decided to go for a model that is very close to those I was dreaming of so many years ago. So close that this particular model was already existing 20 years ago: from Blackfoot, it evolved into Super Blackfoot, then into King Blackfoot and now into Blackfoot Xtreme. This is the one and only Tamiya model to have remained available in catalog all these years: an exceptional lifetime that has no equivalent in any other brand catalog.
The Blackfoot Xtreme family
The Blackfoot is an iconic model from Tamiya, a series that started back in 1986 and still currently active after several generations:
58058 Blackfoot (1986)
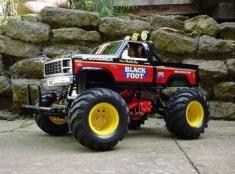
58110 Super Blackfoot (1992)
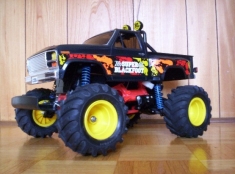
58192 King Blackfoot (1997)
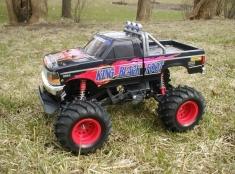
58312 Blackfoot Xtreme (2003)
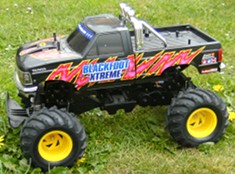
58498 Blackfoot III (2011)
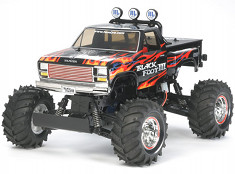
Tou can notice the 3 first models of the series keep using the orginal "The Frog" chassis structure with obvious improvements on the rear drivetrain, especially the more reliable gearbox. The direct consequence is a modification in the rear suspension as the dampers lost their horizontal implantation. The Blackfoot Xtreme chassis introduces a radical change.
the models using the Blackfoot Xtreme WT-01 chassis, either in 4WD twin motor version or 2WD single motor variant:
58231 Wild Dagger (1999)
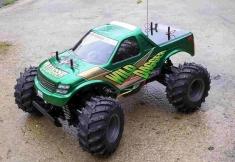
58309 Twin Detonator (2003)
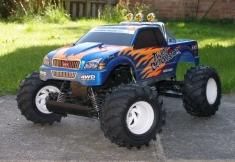
58366 Double Blaze (2006)
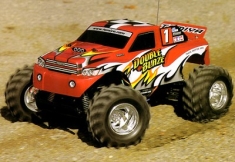
58396 Dual Hunter (2007)
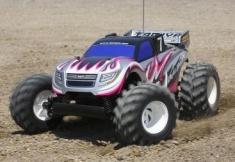
58514 Mud Blaster II (2011)
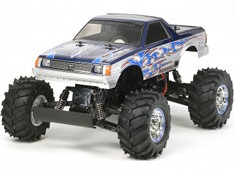
58523 Bush Devil II (2012)
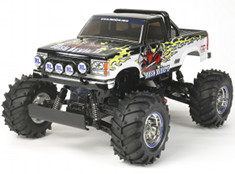
The Blackfoot Xtreme bodyshell
The bodyshell is made of ABS and has some chrome parts to be fitted (the front grille, the roll bar and the rear bumper). This is a Ford F-350 bodyshell, so the black color is mandatory (Henri Ford said "Any customer can have a car painted any color that he wants so long as it is black..."). In fact, it is the official color scheme chosen by Tamiya for this model: you only need to spray a black layer to give it a perfect finish.
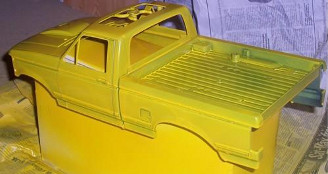
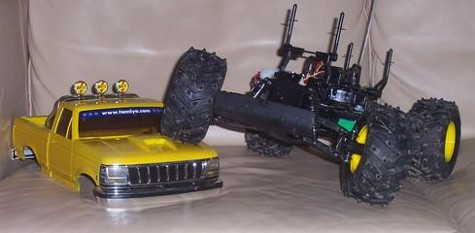
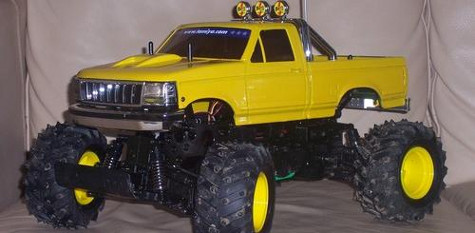
Except that I decided that mine would be painted in a "Lunch Box" yellow. As this color is lighter than black, it will require to spray 3 to 4 layers with sanding between each layer for the next to apply better. Many layers are required because the black color remains visible through the thin paint layers, and adding layers allows to completely hide it.
Drying layers time makes this step quite long, but I like the final result. Cutting and applying the stickers also takes time. I did not stick them right away because I wanted to think about adding one more paint layer. In fact, I wanted to start the chassis assembly and to make the truck run as soon as possible.
So, while the different paint layers were drying, I started to assemble the chassis.
Building the WT-01 chassis
This is a simple operation thanks to a very precise, detailed and illustrated manual. Every part is identified by combining the tree letter and the part number onto the tree. Same thing concerning the screw sets which are clearly identified at scale 1:1 at every step of the assembly. I would say you can not make any mistake unless you rush.
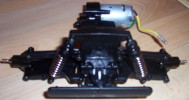
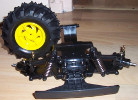 The first steps are to assemble the front and rear drive trains. I replace all the plastic bearings by ball bearings because they have multiple advantages: they reduce the friction (better speed and battery pack autonomy) and they last longer (the plastic tends to wear and adjustments are no longer accurate). This implies to disassemble all the pre-mounted gearbox to change the bearings.
For dampers, I decided to stay with the stock friction dampers for the first runs. I may change them for hydraulic dampers later.
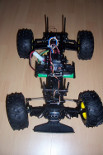
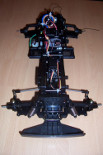
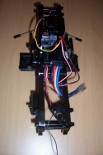 The next step is fitting the steering servo into the chassis frame, as well as the electronic speed controller and the switch.
Then, it is time to assemble the front and rear drive trains to the chassis frame.
At this step of the assembly, the electronics need to be set up, especially the neutral position for the steering servo and the neutral gas position for the electronic speed controller. If you didn't anticipate this step, you will have to wait for the battery pack to charge.
Among the latest assembly steps are sorting the cables to tie them on the chassis frame, to assemble the battery pack doors and to assemble the wheels (note tire rotating direction).
I do recommend to glue the tires to the rims (even if the manual tells not to) otherwise the rims will spin into the tires and the truck will loose traction.
For fun, it's time to switch everything on and make a little run in the apartment to check up everything works fine. I did go slowly because my driving experience is some 20 years old, and also because the tires leave black rubber prints all over the floor ![]() .
.
This quick run made me notice I made a mistake on the steering servo. One screw was not fitted correctly and I had to disassemble most of the chassis to fix it.
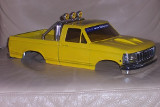
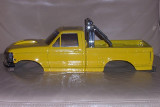
The bodyshell painting is now finished and I assembled the chrome parts to fit them onto the chassis: now I can examine it throughout any possible angle to see if I like the result.
And yes, I'm pleased with the final result: the bodyshell is very realistic (as usual with Tamiya) and the yellow scheme is exactly what I wanted.
However, it is now obvious that the stickers are required because the bodyshell looks nude without them. But as I don't want my truck to look like a advertisement support, I'll give myself a few days reflexion to think about what to do.
