
")
The Beetle Frog project
A 20 year old chassis, lots of spare parts that do not always belong to the original model, a looks-like bodyshell: this project is a 20 year dream come true. To own a Monster Beetle. Purists may object the parts mix, the bodyshell and some custom adaptations are far from the original. But if you don't care and want to know more about this project, prepare the mouse wheel for scrolling!
Prices for a NIB (New In Box) Monster Beetle reach incredible levels due to speculation: from 800 to 1000€, even more. For an used model in a fair state, minimum budget is about 500€.
Meanwhile, Tamiya still didn't decided to re-release this legendary model: Tamiya is a Japanese company that cares about its domestic market, which is normal. However the Japanese market is more buggy-oriented than "big wheels". Tamiya may think about re-releasing the Monster Beetle, but I may not be on their top list of priorities.
A while ago, I bought an HPI baja Beetle bodyshell that I fitted on the Blackfoot Xtreme (the BeetleFoot project in the gallery).
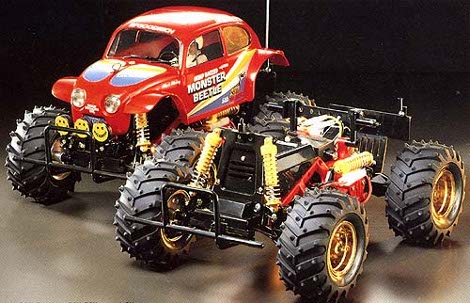
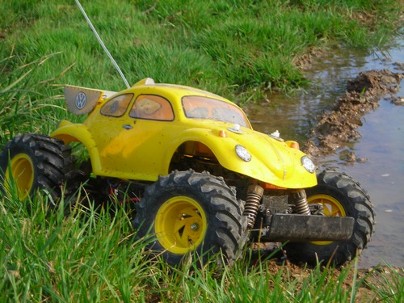
My dreamt Monster Beetle and the Beetle Foot project (a baja Beetle bodyshell on the Blackfoot Xtreme chassis)
Inventory of spare parts
I started by getting a chassis made of Blackfoot (the original 1986 release) and Frog (the re-released version of 2005). The basis of those two models was already the same 20 years ago. This explains the name of this BeetleFrog project.
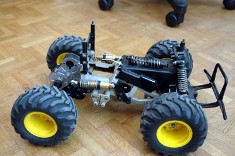
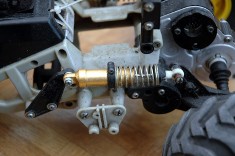
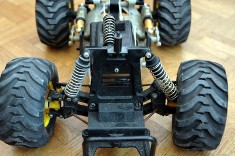
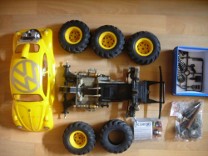
See below the photos of the base chassis. The gray chassis frame comes from a Frog. Almost all the rest comes from a Blackfoot. Gold dampers come from another model (which one ?). The front black dampers will be changed by others I have in spare (from an Egress I think). Last photo is the pile of parts: the chassis of course, part of the bodyshell, the mechanical speed controller (replaced by an electronic TEU-101BK), a bag with various parts and the wheels. The motor, servos, ball bearings and many many screws are not shown.
First step: the bath
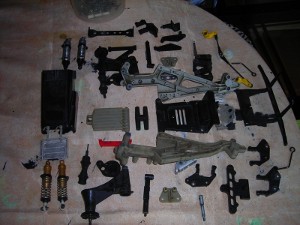
Before anything else, I spent two hours disassembling everything. For this, I just followed the manual, but reverse. This also allow to identify the different parts, untie rusted screws, check up the different parts and which ones to repair, and finally to inventory all the parts especially those that miss... At first sight, many parts are missing, including most of the screws because they are rusted.
Then I placed everything in a bowl of hot water with a generous addition of soap. All plastic parts are immersed; gears and shafts will receive another treatment.
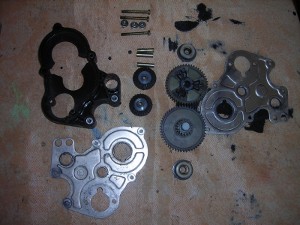
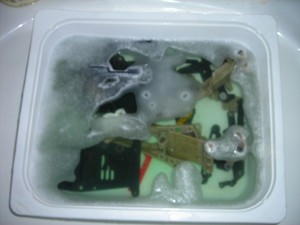
After half an hour of immersion, the toothbrush I use for cleaning models can act. The soap did a great part of the job, but some parts are literally covered with a thick layer of dirt and grease. The toothbrush is very useful for this as it can reveal a red part when it first seemed to be black.
