Custom modifications on the CW-01 chassis
I made a few changes on the chassis upon advices from Tamiyosho and CactusZeBest from the Vintage-RC forum:
- I placed rubber spacers on the front and rear damper axles. They don't hit brutally the chassis anymore when the suspension extends. These spacers are just cut parts from a brand new motor axle protection.
- I inverted the front and rear damper bodies: rear one are longer, so when you put them on the front drive train, the spring becomes harder and the chassis stands up correctly. So front tires naturally stand on the ground and no longer on their internal side. Adding a spacer on the spring makes it also harder.
- I installed spacers on the front and rear spring axles to avoid the wheels touch the bodyshell when dampers are pressed.
- I added a 100 grams weight ballast on the front drivetrain to limit the wheeling effect (because I don't have the wheelie bar yet). I removed it as soon as I got it.
Now, the results with photos:
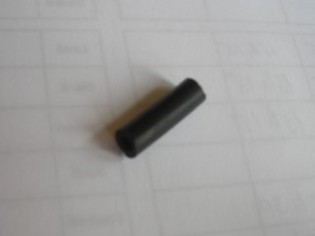
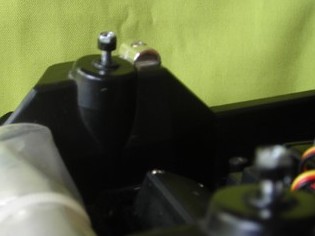
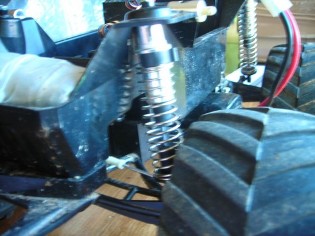
In oder of appearance: the rubber tube used for damper spacers, the front damper spacer and weight, damper body inversion, spacers.
And now, the final result:
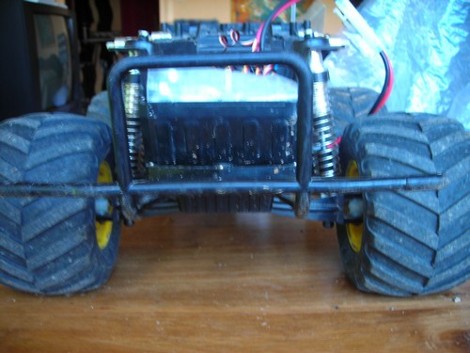
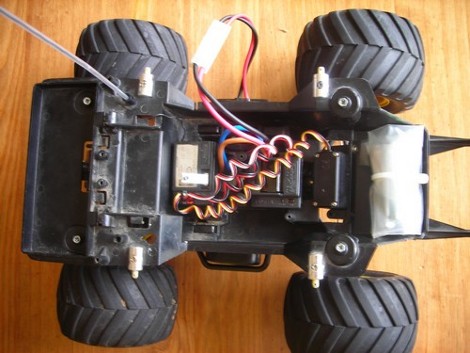
As I was trying to find the correct setup for the front drivetrain, i discovered a problem on the rear one. The parts that spin the rims were broken for one of them, and cracked for the other. Probably because the nut used to fit the wheel to the axle was forced. So i glued the pieces, filled the cracks with glue, and directly screwed the parts to the rims. Should they break again, I would have to replace them by new ones (hopefully I have them in my spares).
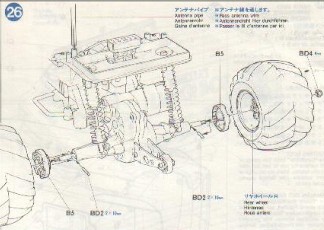
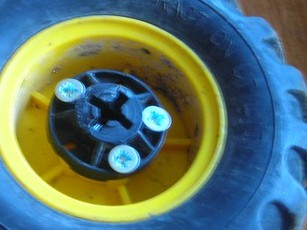
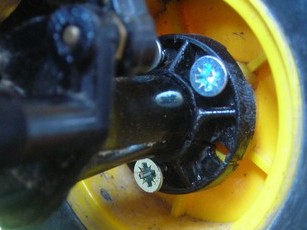
First photo are the B5 pieces (motor axle / rim), the part screwed onto the rim, and the final result.
This model weakness are the bodyshell mounts that do not appreciate rolls. The ABS bodyshell is heavy and rigid: any shock will transmit to the body mounts. After I broke several of them, I changed the body mounts with the idea of Razowski, a member of the Vintage-RC forum. Anyway, I had no choice as 3 body mounts over 4 were broken and I had no spares left ![]() .
.
The idea is to fix angled pieces on the chassis to replace to body mounts, then to use velcro on them and on the inside of the bodyshell.
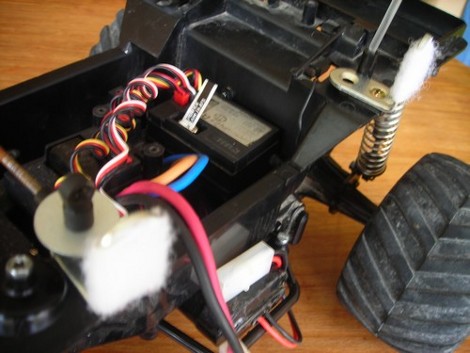
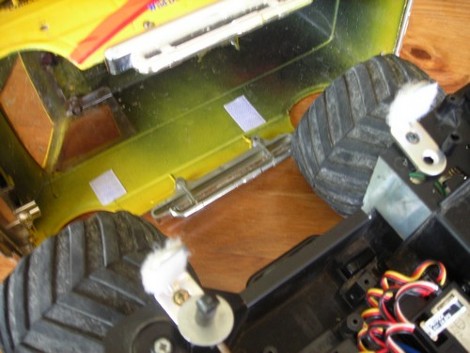
While modifying the body mounts, I noticed that the chassis could fold upon efforts when suspension works. So I thought about a bar that would stiffen it to avoid breakage. This modification can be seen very often on this chassis, but they generally use the hydraulic dampers mounts to fit it. This original suspension system does not allow to fit this bar the usual way but thanks to my custom body mounts I could do it. As far as I know, it's the first time this mod is made keeping the original suspension system.
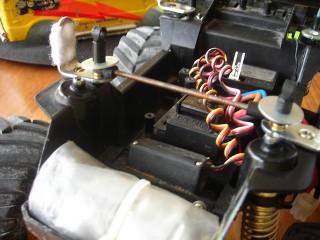 The assembly:
The angled metal piece is screwed to the chassis by a single screw (the closest to the angle). Then, by the bottom, I inserted another screw in the second hole.
The bar itself is a tie rod with damper ends fitted at each extremity. Then I used a damper spacer inside the damper ends. These spacers will leave room between the angled metal piece and the damper ends.
A round spacer is then placed on the top to tighten the damper ends before to screw other damper end to maintain it all.
I know it seem complex to do (and to explain!), but it is fairly simple to do it: at most, it took me half an hour to finish it.
Once the bodyshell is on, you can't see anything. This modification is very efficient as the chassis is really stiffen when suspension work, even if they work brutally.
When checking the rear drive train, I discovered the axle springs were broken. Their job is to damper the gearbox when it oscillates. Another weakness for which there are 3 solutions (apart from replacing them).
- to make axle spring from clothes pin spring. I'm not sure about this one as the spring is very hard and could block the movement of the gearbox.
- to insert foam where the axle springs are located. Not sure either because you need to glue the foam and the better you glue it, the less movement it allows.
- to install a third damper on the rear drive train. The goal is to improve the way the gearbox oscillates.
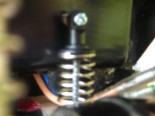 I used a friction damper from the Blackfoot Xtreme. I installed it head down because the damper body was touching the chassis. The spring is the softest I could find and I placed the biggest spacer available.
I used a brass tube to separate the damper from the chassis (so the damper doesn't hit the chassis, and is still able to move).
On the other side (inside the chassis), a nut maintains it (you can see the nut behind the radio receiver).
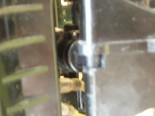
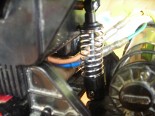 To fix the lower part of the damper, you have to disassemble the rear drive train (there's no other way to do it). Then remove what is left from the axle springs and remove the metal bar which is the rear drive train axle.
Then, you have to cut right in the middle of the gearbox on the reinforcement joint (use a jigsaw or a dremel) so that the damper basis head can insert into it and be maintained by the drive train axle bar when you put it back.
Now you just need to reassemble it all and test it at the next run.
The third damper mod is very efficient: the rear drive train doesn't bounce as much as before. The overall suspension is smoother and the truck doesn't bounce all around at jump landings. The traction control is also greatly improved but all this doesn't change the great amount of fun the Lunch Box provides.
Some photos
When you drive a Lunch Box, it is wise to do it on a wide place. Say good bye to neat racing lines, Vanessa does what she wants and the pilot does what he can. Driving on grip surfaces (like asphalt) is not very funny as you have to control permanently the truck power. But on short grass (very short, like on golf practice), ground and especially sand, the Lunch Box provides tons of fun both for the driver and for spectators. Be prepared for some laughts.

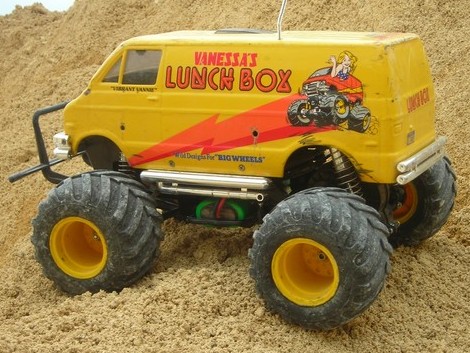
Last update 11/08/2010
This is the second model to leave my collection after the Grasshopper II. Vanessa joined the scuderia of a fellow forum Vintage-RC member, and left with many parts to give her a serious lifting. She will carry on with her "crazy wheeler" career under a new sky and this page won't be updated anymore. Bye Bye Vanessa.
Related article


