Preparation of the DF-03 chassis
I received the buggy in a brand new state, perfectly assembled and painted. There was absolutely nothing to do on it apart from installing the receiver, the steering servo, replacing the Actopower (15T) motor with a SuperStock BZ (23T) and replacing the speed controller with a TEU-302BK.
The steering servo assembly is easy: I just cared to fix the servo-saver with a 3x12mm screw instead of the 3x10mm screw recommended in the manual. As per the manual, I experienced unscrewed servo-saver before the end of the first pack, at least with the basic T2M AS16 servo.
Placing the receiver and the speed controller is also pretty easy: they just fit into the chassis, but no room left. The tricky part is yet to come.
A full assembly is not finished when everything is connected: you still have to tie the cables and fix the speed controller switch. This is exactly where the hard part begins.
The stick pack goes along the chassis and is inserted through a door underneath the chassis. Above, you have the propeller shaft and the very long steering rod since the steering servo is mounted at the rear of the chassis. Thus, you just can't install anything on top of the stick pack: all electronics have to go on the sides being careful you still can fit the bodyshell that literally wraps the chassis.
The Dark Impact low profile
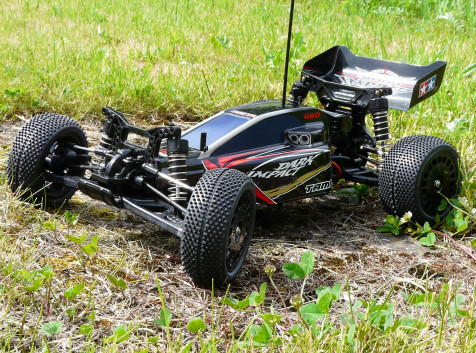
Chassis layout
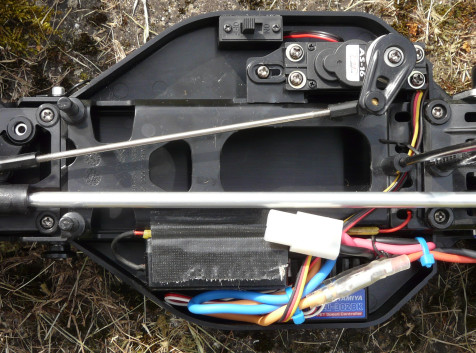
I agree that my receiver is not one of the smallest available on the market, but on the contrary, the TEU-302BK speedo is smaller than the stock TEU-101BK. Despite of this, I could not figure out how to insert the switch where it should go.
Well, I could place it next to the speed controller, but the tire mess over it made it unreachable, so I transfered it on the opposite side of the chassis.
So, another problem shows: the antenna wire (here protected by a piece of antenna tube) is now very close to the power cables (those going to the stick pack and the motor from the speedo). Normally, you should avoid this to prevent radio problems. Unfortunately, I couldn't manage to make it better.
The only solution is to place the receiver on the opposite side of the chassis and make the cable cross correctly to the other side. I couldn't do it because my receiver is too big to fit next to the steering servo.
As a conclusion, this is the most difficult electronics layout I've ever done so far. The final result works, but it is far from being the best.
First runs
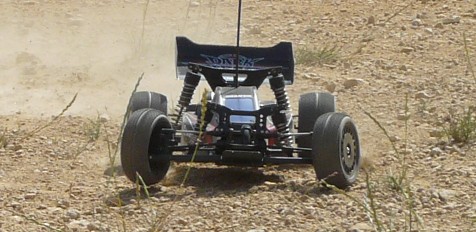
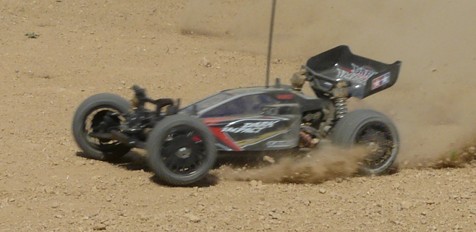
JI couldn't drive it so far because of the bad weather but I ran out at the first sun shines to take some photos.
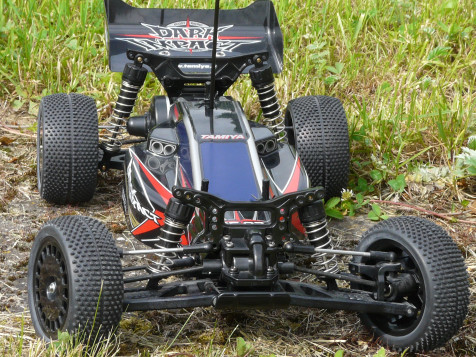
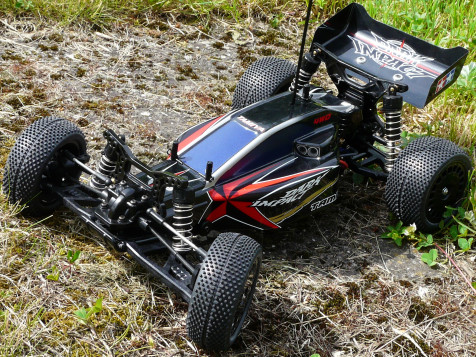
Update 04/08/11: since this article was first published, my Dark Impact had a few runs even if it is not the model I prefer to drive. In fact, despite the respectable power delivered by the SuperStock BZ motor, this model is very similar to my Sand Viper, with the same pros and cons.
The handling is close to perfection, no surprise there: suspension is very efficient, corners are taken as if there were rails as long as you don't get into with too much enthusiasm. Even though, the Dark Impact will forgive most mistakes especially because of the 4WD transmission. The pleasure to drive is absolutely different from my Boomerang, the contrast being similar to the one between my Fox and my Sand Viper.
With this model, the pleasure to drive is to find the best racing lines, brake points and when to unleash the power, to go as fast as possible. I have to confess this is a state of mind I don't feel very often when driving my models, but it is a perfect way to learn and to improve my driving skills (always useful when you have to control fragile vintage models that rarely forgive any mistake).
Last update 03/12/12
I finally decided to sell my Dark Impact, both due to the lack of a proper track to run it and the need of room. Furthermore, this model is somewhat too "perfect" for me as I prefer the charm of older models which are often more delicate to drive. I am pretty sure my Dark Impact will have a nice second life in its new home.


