
")
Madcap
This is an opportunity found on internet at a very good price. The model is in relative good state with full electronic equipment and fully hopped up: I couldn't resist 
A few weeks before I got it, I received a full stock of new parts for this model by pure coincidence: this allowed me to get a Madcap, even if it was in a sorry state.
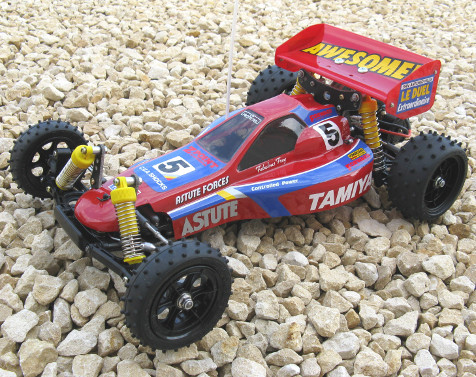
The Madcap is a 2WD buggy released in 1989. It was meant to be a cheaper alternative to the Astute (kit 58080) and the Madcap revealed to be a true racer on tracks as long as it was equipped with correct options (ball bearings and hydraulic dampers to replace the friction ones included in the box). As a matter of fact, the Madcap is equipped with the Astute ball differential.
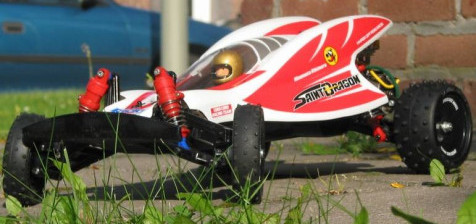
The Madcap was pretty much appreciated at the time, despite the Astute being preferred by racers. As for the Saint Dragon which is a different bodied Madcap, it never sold well in Europe and USA due to its look, the opposite of what happened in Japan and overall Asia where the manga craze was at its best.
The Madcap family
It is reduced to only 2 models which are identical, apart from the body.
58082 Madcap (1989)
58083 Saint Dragon (1990)
However, these two models are the “economic” versions of an important chassis lineage in Tamiya history: the Astute's.
58080 Astute (1989)
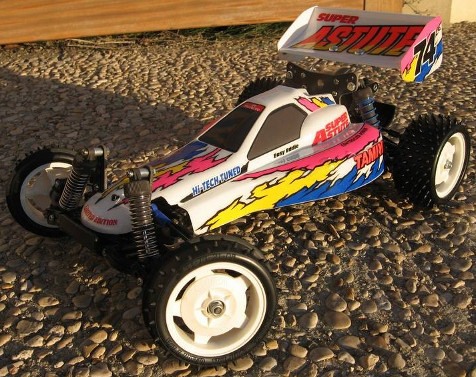
58097 Super Astute (1991)
58081 Nissan King Cab (1989)

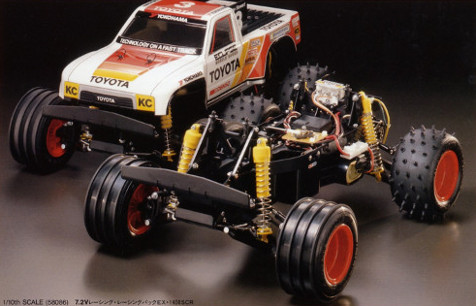
58086 Toyota Hilux Monster Racer (1990)
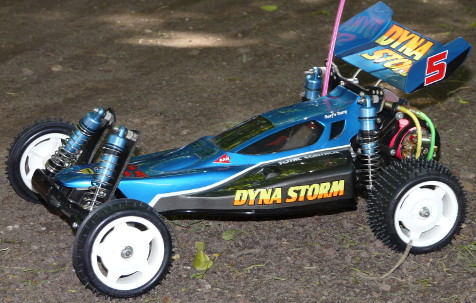
58116 Dyna Storm (1992)
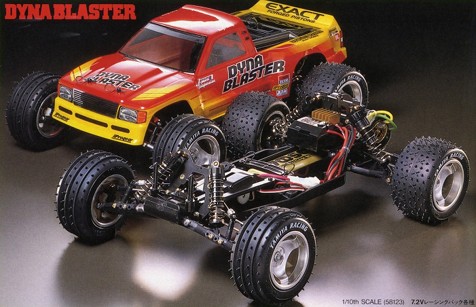
58123 Dyna Blaster (1993)
For the records, note that the Madcap and Saint Dragon inaugurated the blue and red friction dampers, those that can still be found nowadays, especially in the XB Pro range of products.
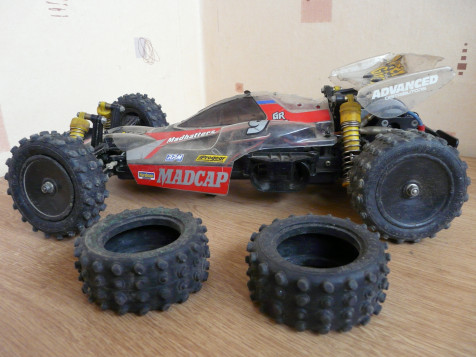
My Madcap when it arrived
What I received was supposed to be ready to run: well, no way to run it in that condition, but that's not a problem. The radio and electronic equipment was complete and functional, and various spare parts were included.
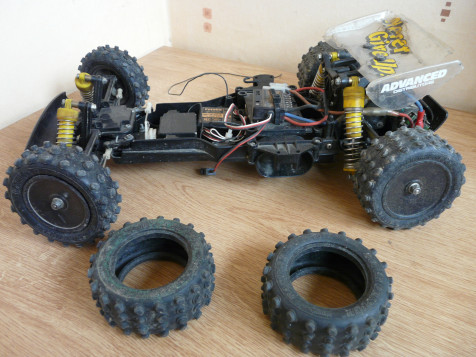
A complete pinion set comes with it, as well as several spare parts not shown on the photos like two motors I will have to check. The overall state is almost good despite the dust attesting a long stay in a basement. Several parts are jammed like the dampers (probably because they need oil) and others are cracked and will need a change. Generally speaking, there's a lot of play in the assembly and I will have to disassemble the whole chassis, check it, replace parts and complete missing or bad used screws.
The body is is good state except badly drilled holes. Stickers are on but the body isn't painted: same thing for the wing except it suffered quite a lot. The rear tires seem OK and so are the spare ones. At the front, tires are just ruins and need replacement.
As usual, I will disassemble the whole chassis, clean each part, grease and replace what needs it and check it all. Afterwards, full rebuilt to make it run and then I will work on the body and wing.
The Madcap chassis
At first, I just stripped everything down, separated plastic parts for metal parts and check every screw to throw away those that couldn't be used anymore (rust, damaged screw steps...).
Then I placed all the plastic parts into a hot water bath and I cleaned them one after another with a toothbrush and soap for washing dishes. Screws and metallic parts received the same treatment with WD40 to unjam parts and remove some rust.
Many parts then revealed worrying cracks and very basic repairs made out of glue and were systematically replaced by new ones from my spare stock. All the other were reused and will eventually be replaced if needed. Hopefully, the chassis main frame is in perfect shape except visible and normal signs of use: that was the only one I hadn't in my spare stock.
I also replaced almost every ball bearing since most of them were in a poor state. Concerning screw, I had everything in my stock to replace or complete what I needed.
Dampers required a few hours as they were completely jammed. The hot tip is to completely disassemble them, to change the o-rings, to sand the axles with a very smooth sand paper and to polish them with a tissue you previously sprayed with WD40. Then just rebuild them and give them fresh oil. For their setup, I chose the "medium" one for the rear dampers and the softest one at the front. The first run will tell if I made the good choice.
The gearbox only needed a full cleaning and grease treatment as all the gears are in perfect shape. The way the gearbox is designed is obviously meant for racing as you only need to remove 3 screws and the gearbox cover to change the motor pinion and the spur gear and setup another gear ratio. The whole operation requires barely 5 to 10 minutes.
As a matter of fact, the gear ratio range is pretty extended: from 7.73 to 12.23 by varying the motor pinion and spur gear. I chose an 8.09 gear ratio since I decided to mount a Sport Tuned motor. My Madcap will get correct performances with almost no breakage risks (hey, it's 20 years old). About the two motors I received with this model, one just directly went to the bin. The other one is a 10x2 in perfect shape, but I think it is much too powerful for my use.
This model assembly is quite long to do, but there is no specific problem, including the electronic equipment placement as there is plenty of room in the chassis. Good thing this chassis was designed to receive either a mechanical speed controller (and a second servo) or an electronic speedo (a TEU-302BK for me).
The last step is to mount a new set of tires at the front: the rubber is pretty hard so it is not an easy operation, but nothing that can be compared to the Hornet nightmare though. A the rear, I also changed to tires since they showed little cracks and I mounted Oval Blocks tires (the same as the Fox's). At the front and at the rear, you need to glue the tires on the rims.
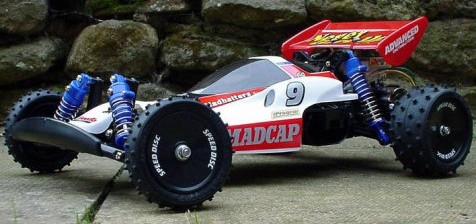
So here's the result of this restoration so far:
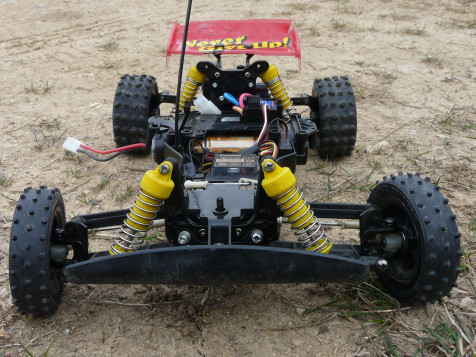
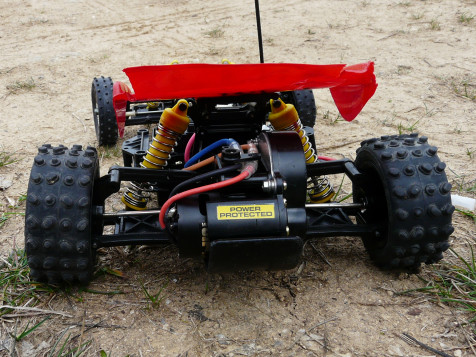
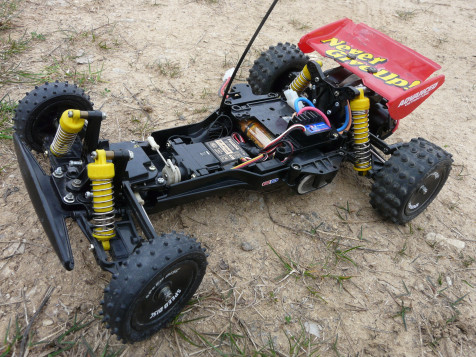
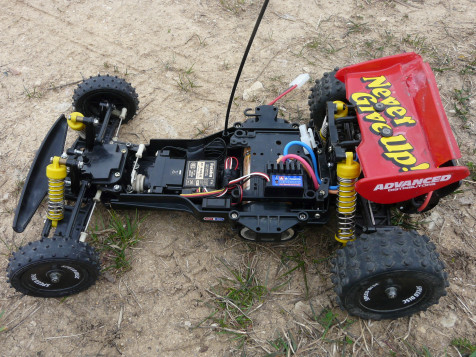
While I was assembling the Madcap, different things remind me of the Sand Viper:
- The front and rear damper towers and the damper position are very similar, not to say identical
- The wing mount that can also be used to change the wing camber for an aerodynamic setup
- The disc rims and the "speed disc" sticker which are exactly the same as my Sand Viper's, colors excepted
OK, these are only minor details. But they seemed so obvious while I was in the middle of the assembly process that the Madcap really seemed to be the Sand Viper ancestor.
