
")
The brushless motor
Like I said before, I will mount a quite powerful motor, thus the previously installed upgrades. As a matter of fact, the motor will be brushless to save on the maintenance that equivalent brushed motors require. Namely, this is a Leopard combo made by SkyRC:
The box
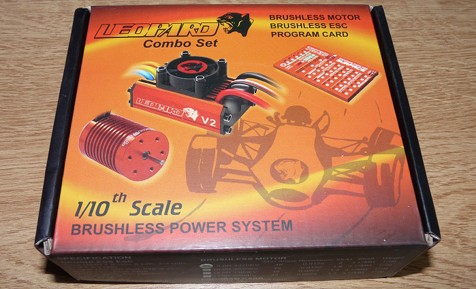
Leopard SK-300042-02 combo
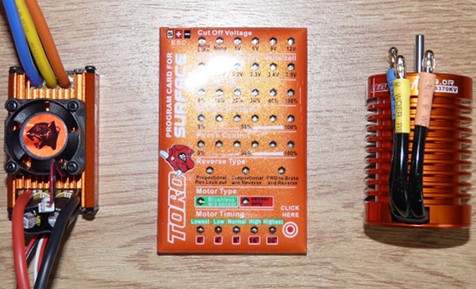
The combo is made of a 60A ESC, its programming card and a 4370Kv 9T motor. In other words, it is about the same as the one installed in my practice TL-01 chassis. Most probably, apart from the softest possible setup, I will limit the power with my radio setup: I want the pleasure to drive a high-end chassis, not to test my limits in controlling a surface-to-surface missile (that's what my TL-01 chassis is made for  ).
).
Motor fitted
Complete setup
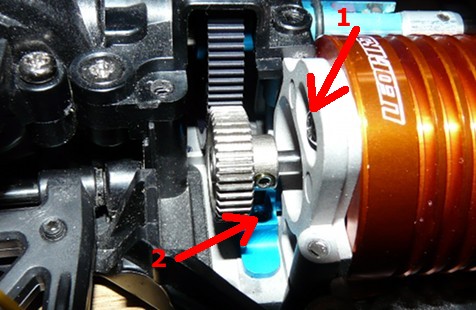
The motor pinion is pretty easy to access since you only need to remove half of the housing. Changing the motor is very easy... but correctly positioning the motor on the motor mount is another story. As a matter of fact, positioning the motor is done by moving two screws: the first one can be seen on the first photo (in 1) but the second is located under the chassis (you can see the screw head in 2: this is the screw that holds the motor adapter). Consequence: the operation is not easy since you don't have a direct view on positioning the motor pinion against the spur gear. So it is more of a positioning "at finger's feeling".
But there is worse: whenever you may need to replace the motor (or for maintenance), count that you will need to remove the whole entire rear drivetrain since it is the only manner to get access to the lower screw holding the motor to its mount. You will definitely avoid to perform this operation at the track.
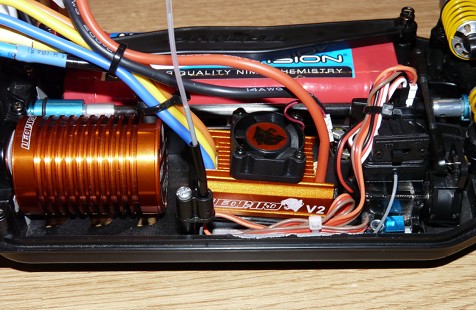
EAs for placing electronics, there is not much room as you can see: I would recommend you install a low-profile servo to save useful millimeters, but keeping room enough to stick the receiver on it. And also the switch onto the receiver: burger-style, but it works .
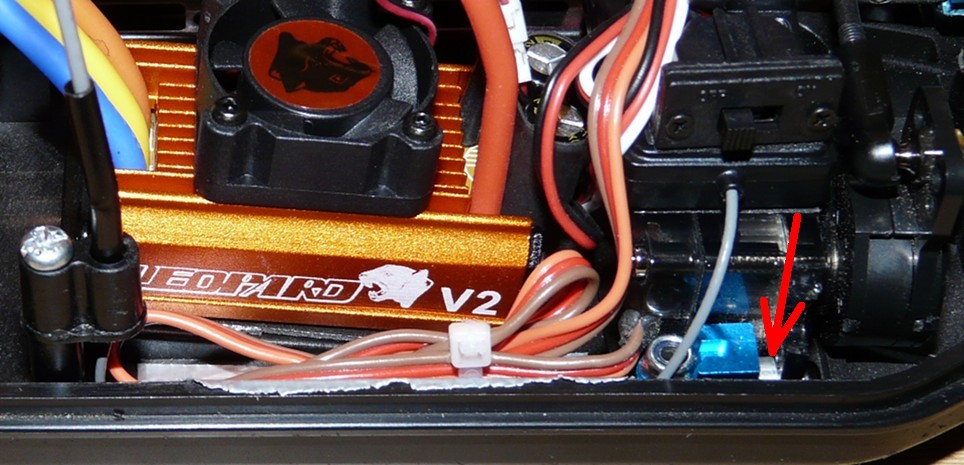
On this close-up, you can notice two little modifications: on the left, the new place for the antenna tube. Much easier and more important, further from the main shaft than the recommended layout. The red arrow on the right points one of the spacers I added to move the servo a few millimeters forward on its stays: the goal is to make the steering rod go straighter between the servo and the bellcrank. Thanks to these spacers, the steering rod no longer hits against the servo, saving the servo from forcing to operate the steering. For your information, the servo-saver is a 51000 High Torque Servo Saver.
Useful information: if you mount the front anti-roll bars like I did on my model, then remember to limit the servo operating range with the End Point Adjustment function on your radio. With the default setup at 100%, the uprights hit the anti-roll bars stays when wheels are fully turned. On my radio, setting the EPA to 90% solved the problem.
You may also notice the bottom of the chassis is not horizontally flat: the reason of this is the motor cooling. On one side, the motor heat is dissipated through the metal motor mount that features two different heat sinks under the chassis. On the other side, the bottom of the chassis has aeration holes below the motor. But this is not all: Tamiya designers added an "air duct" to better cool the motor.
The motor cooling system below the chassis:
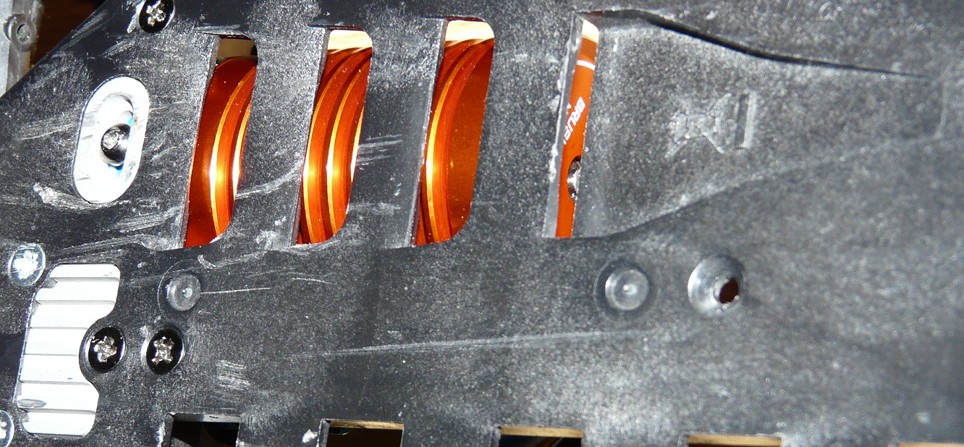
Bottom left of the photo, what looks like a Pac-Man about to eat a screw is one of the motor mount heat sink. Just above it, the second oval heat sink that hosts the motor adapter screw (that was pointed as 2 on the previous set of photos). Full center in the upper part of the photo, 3 air outtakes to cool the motor, and at their right, the air intake (or air-duct) that captures fresh air from below the chassis to blow it directly onto the motor.
Related article
