The Grasshopper 2: 3rd rear shock (updated)
The above described 3rd rear shock setup didn't resist the first run. After several weeks with no idea for a better system, I though about a new approach. The base mechanism remains the same and room constraints also remain the same.
Anyway, I came out with a new system that perfectly handled the first run. At least, it's a good start.
That is what is it about:
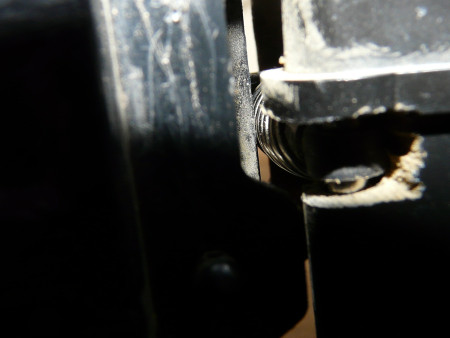
The 1st photo shows the shock head inserted into the gearbox case: no change so far.
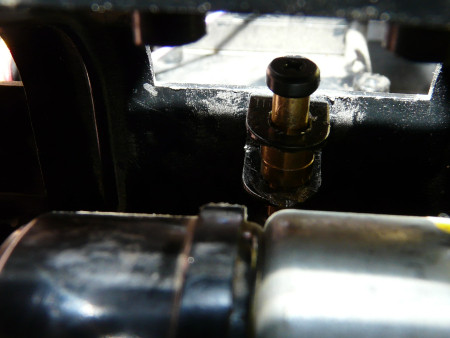
Photo #2 shows this upper fixation. The U shape damper stay is still there, but differently oriented. This time, it squeezes 2 flanged tubes (thick ones): this is to ease the damper axle screw moves. The flanged tubes are inserted head to head so the U shape damper stay can maintain them. Also, the U shape stay holes are 3mm diameter whereas the flanged tubes external diameter is 4mm. The U shape stay holes have to be drilled for two reasons:
- The flanged tube diameter is bigger than the U shape stay holes they have to get into.
- The gearbox movement is not perfectly vertical: it is oriented backwards when the casing goes up. So the U shape stay holes need to be bigger to leave more room to the damper axle.
To built this up, you need to tear the U shape stay, insert the screw that will fix it to the chassis and then insert the two flanged tubes. Do not tighten back the U shape stay now.
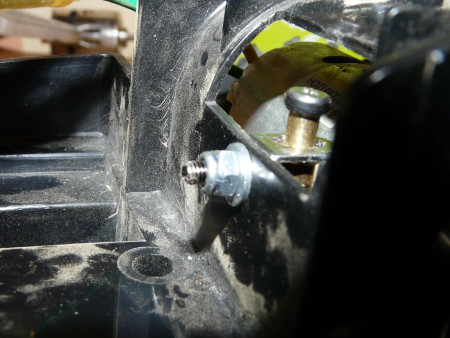
Next step is to fix the U shape stay to the chassis. A spacer used to protect the chassis plastic and a Nilstop nut do the job. Now, we can tighten the U shape stay (if you did it before fixing it to the chassis, you can't screw it anymore). The final result is shown on photo #3.
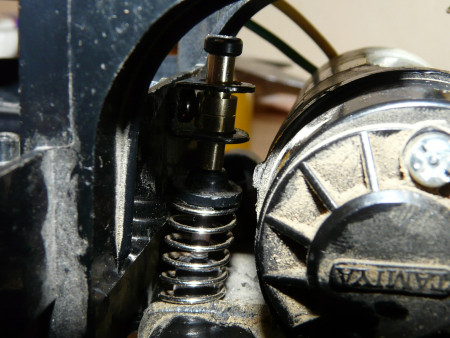
Photo #4 a lateral view of the assembly. The damper axle is the one from the Grasshopper II front suspension. This axle is screwed into the damper head that is inserted into the gearbox casing. The damper spring also comes from the front suspension but you need to cut it to keep it soft enough. Between the top of the spring and the lower side of the U shape stay, insert the C11 part that also comes from the front suspension (C11 is used to maintain the upper side of the spring).
Yes, I did notice the Tamiya logo on the motor mount cache is reversed ![]()
This setup only has a slight problem: the motor hits the U shape stay when the rear drivetrain makes a perfectly linear move. Practically, this movement never happens when you drive because the lowest part of the gearbox attachment to the chassis needs to remain stuck while the rear part of the gearbox case compresses the rear dampers to the fullest.
The theoretical suspension travel loss is about 3mm. In real driving conditions, with either a full or partial rear drivetrain oscillation, the loss is merely 1mm. Let's say it doesn't exist.
I used parts from the front suspension to built this third rear damper. The reason is easy to understand: I replaced the stock springs by friction dampers borrowed from my Citroën Xsara WRC. The benefit is quite impressive on the front drivetrain: it now stays up. But I kept the suspension as soft as possible and the result is that the front drivetrain doesn't bounce anymore and directivity is tremendously improved.
With these new changes, the overall Grasshopper II handling is even better: it is now very close to the Madbull's. Of course, it is still quite far from a modern competition buggy, but it is now much easier to control. Pebbles and jumps are handled by the suspension and the Grasshopper doesn't bounce anymore like other stock chassis of its lineage.
First runs
The playground was the same as for the F-150: dust and dry puddles. The buggy overall handling is very well illustrated by its name: it is a bouncy grasshopper. The speed and handling are the same as my Hornet's, apart from a few details.
The tire set is also much more efficient than on my Hornet: more grip at the rear, and much more precision in the steering for the front. The Grasshopper II remains a 2 wheel drive buggy, but the tire set is a true benefit. The front suspension is also much softer than on my Hornet and sticks to the ground. It is even so soft that I'll have to harden it a little bit as the front drivetrain tends to get too low.
At the rear, the Hornet hydraulic suspension is much more efficient than the Grasshopper II springs that make it bounce a lot. Well, in fact this is to be tempered: as long as the third rear shock kept working, the buggy handling was a little better than the Hornet's. But as it didn't last long (the screw and nuts played a Prison Break episode), the Grasshopper II soon recovered it natural handling: to bounce on the first pebble. So now I have to study again how to fix it better.
So overall, the Grasshopper II does belong to its lineage. It is a very pleasant buggy to drive as long as you don't expect performances it can't give because it has never been made for that. It is robust, it can be driven hard and will definitely be a "serious basher".
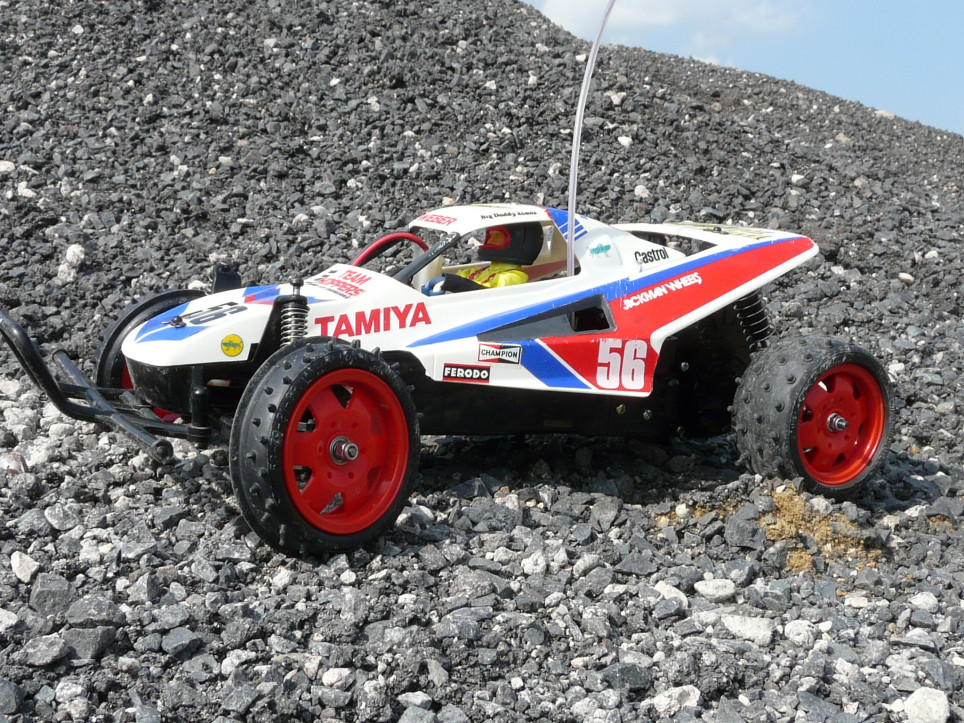
Bonus: the promotional video of the Grasshopper II when it was released back in 1988 (© Tamiya). If you think you see a Madbull, then this video could be considered as premonitory...
Last update 11/08/10
Yes, this is the last time I modify this model entry because it is now sold. After more than 2 years of good and reliable service, my Grasshopper II is now heading to a friend's collection. I had a lot of fun to put this model back on its wheels and to drive it.
It never suffered any technical problem during its numerous runs, no servicing at all and its overall handling was pretty decent thanks to the modifications on the suspension system. Of course, the Grasshopper II remains a basic model despite the modifications, but it is very tough and provides tons of fun: it will remain one of my favorite runners.
My collection rapidly grew and I had to make a choice mostly based on a question of room, but I keep my Hornet not to forget the so charming grasshopper effect.
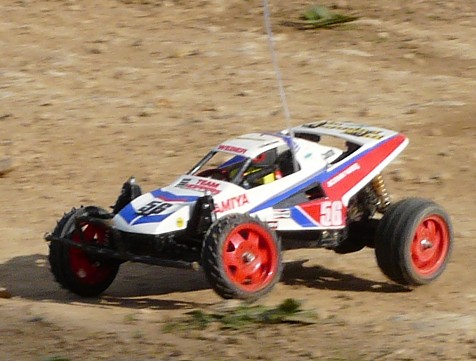
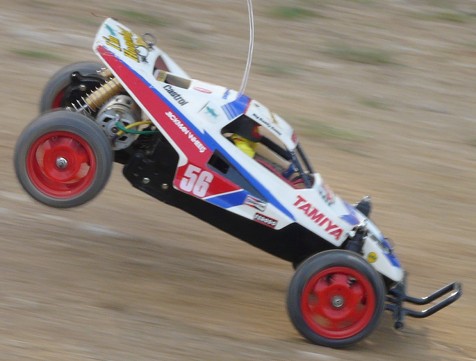
This is the first time I sell one of my models since I got back into the hobby: I feel sad, but I know my Grasshopper II will keep on living its life in good hands. Bye Bye little Grasshopper: thank you for the fantastic hours we lived together...
Related articles


