
")
Decorating the Mountain Rider bodyshell
On this model, the livery is quite simple so decoration is a limited job. However, limited does not mean easy because some details really require talent and time, a lot of time. Applying conventional stickers is quite straight forward as long as you use the proper method: first plunge them into warm water with a drop of washing-up liquid and then apply them more easily on the bodyshell.
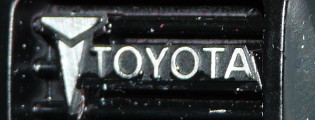
I used the word “conventional” to describe stickers in the previous paragraph: well, that means there are other stickers to deal with, those depicting the chrome aspect of some elements of the decoration. As a matter of fact, some of the stickers are not stickers because they are better called metal transfers. Here they are:
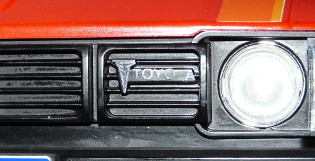
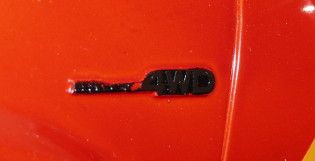
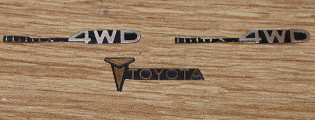
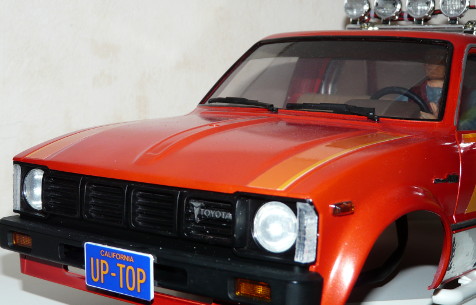
Sorry for the bad photos: because chrome is so shiny, it is very complicated to properly shoot it, even more when using the flash. However, those photos show the Toyota emblem on the front grille, the “Hilux 4WD” emblem on the sides close to the doors and the door lock (on the yellow and orange sticker). These chrome elements are not stickers but metal transfers, meaning they do not stick: instead, you need to transfer them from their plastic sheet onto the bodyshell. In concrete, cut around the emblem, gently remove the lining (the light green “baking paper”) in order to keep only the transparent film with the emblem on it. Precisely place it with metal parts touching the bodyshell, don't move it at all and rub the transparent film so the metal parts transfer to the bodyshell. Very carefully remove the transparent film making sure the metal transfer remains on the bodyshell. That's the theory, taking into consideration that you precisely place the metal transfer (inside the front grille), that you rub it without moving it at all and that the metal transfers correctly stick to the bodyshell.
In practice, as the front grille Toyota emblem and the side “Hilux 4WD” show, it appears that transfers badly stick on acrylic paint (here I used Tamiya X-18 for the front grille and XF-1 for the sides). In addition, be aware that the XF-1 badly sticks on the bodyshell TS-39 Mica Red, making things even more complicated and leading to this poor result. Even worse, one letter from the Toyota logo and parts of one side “Hilux 4WD” emblem got lost a few days after I did the metal transfer. I must confess I was very surprised and disappointed with what looked like incompatibility between the paints and the metal transfers, unless I made a mistake by not leaving the paint dry enough. May be with the XF-1 paint used as a background for the side “Hilux 4WD” emblems because I let the paint dry for only 24h. As for the Toyota logo on the front grille though, the paint dried for about 1 full week before I applied the metal transfer...
Hopefully, there is a solution to remedy the problem (other than buying another full sticker sheet):

These very thin aluminum-made emblems are sold by RC4WD under the reference VVV-C0007 for a little bit more than 10 euros: they simply require to be CA-glued on the bodyshell and that's it. To be fully honest, these emblems are made out of a metal that is significantly less shiny than Tamiya chrome metal transfers.
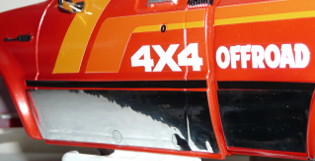
I still haven't said a word about the shiny metal-looking stickers that take place on the lower side of the doors: actually, applying them is no big deal. However, holes are to be made in them in order to access three screws (2 maintaining the side sliders and 1 being the rear bed lower fixation). I decided not to vainly try to draw perfect circles with a scalpel and to leave the screws hidden (so unreachable): the odds of slaughtering the stickers are much greater than the possibility to ever need to reach those screws.
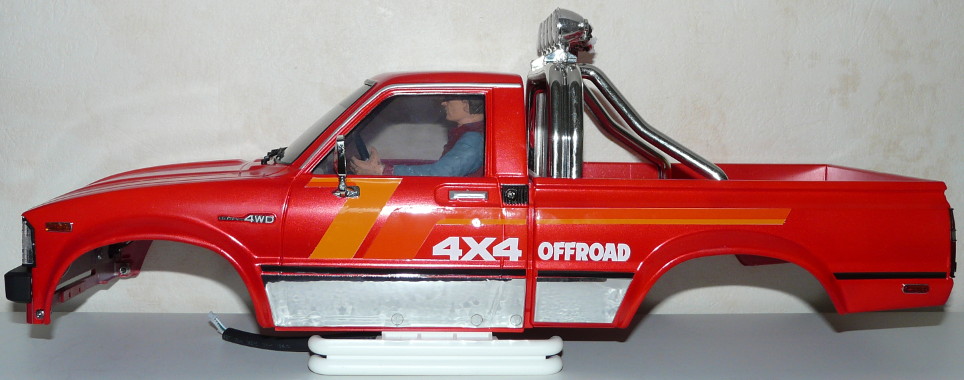
After spending a few more hours dedicated to the sole bodyshell, I could finally get it done:
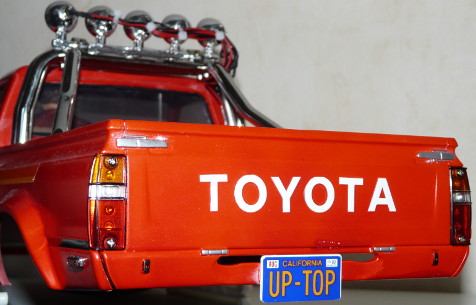
One last detail: the Toyota logo on the back of the rear bed is to be painted in white, as mentioned in the manual. If you have the required talent to precisely draw each letter with a brush. Or you can find inspiration in the Bruiser manual: use the supplied sticker #3  . In case you would need it too, the Bruiser sticker sheet reference is 19495728
  .
.
Let there be light!
Apart from the stock (boxart) model decoration, and after a first experience with my Mitsubishi Pajero, I wanted my model to be equipped with a complete light system to make it look even more scale realistic. The most positive aspect is that Tamiya entirely prepared the bodyshell for this, supplying all required light buckets. The only things left are to decide which LEDs to install, to chose a light system to control them... and how to control the light system itself.
Actually, there are mainly 3 different manners to control lights on an RC model:
- static: all lights are switched on or off all the time
- semi-dynamic: the solution I used on my Mitsubishi Pajero. It is a TLU-01+TLU-02 combo: all the LEDs are connected to the first unit and the second unit drives the TLU-01 LEDs according to 3 programs activated manually (day / position / night / fog). Here, stop lights, reverse and turn signals are dynamic, meaning they react according to how the model drives.
- dynamic: same as the previous, except that all programs (or modes) can be operated from the radio instead of requiring to manually move a switch on the control unit (that is hidden inside the model).
For this model, I was only interested in fully dynamic solutions, especially because I will use a 6-channel radio to control it. Only 3 channels are required to fully operate the model, so I have 3 channels left to play with lights... Before buying whatever comes by, you first need to precisely evaluate your needs depending on the bodyshell:
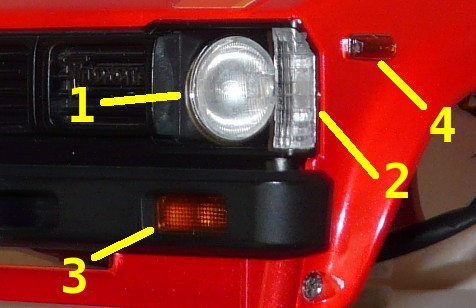
At the front:
2 white headlights Ø 5mm
2 white position lights Ø 3mm
2 orange turn signals Ø 3mm
2 orange side turn signals reminders Ø 3mm
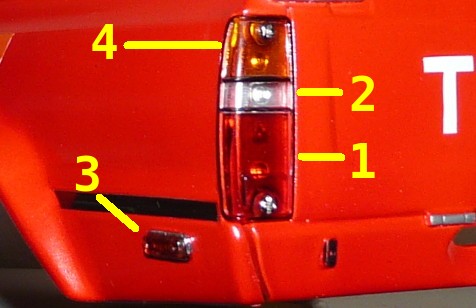
At the rear:
4 red position / stop lights Ø 3mm
2 white reverse lights Ø 3mm
2 red side position lights reminders Ø 3mm
2 orange turn signals Ø 3mm
The result will look great, but you need to anticipate the work it represents, as well as the amount of wires to cable tie and to hide inside the bodyshell:
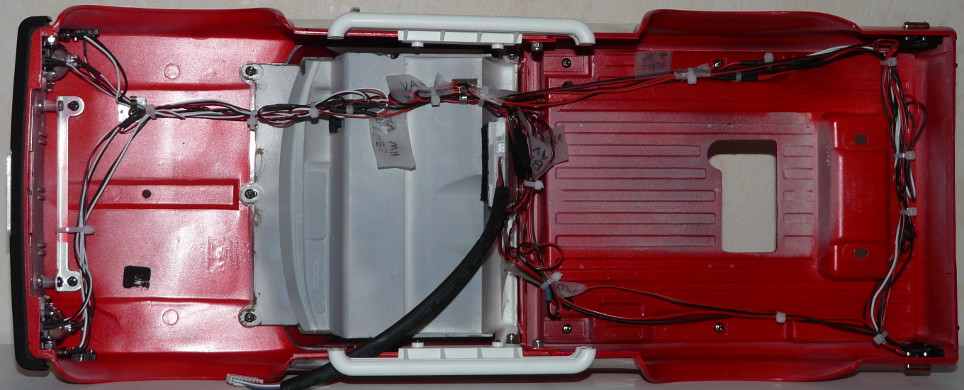
What you see is the result of the 18 LEDs I previously listed. As you can see, there is a label on each wire: believe me, you need them . Among the spaghettis, one more wire is hidden: the projector ramp. Actually, I decided to replace the stock fake projector ramp with a fully functional LED ramp.

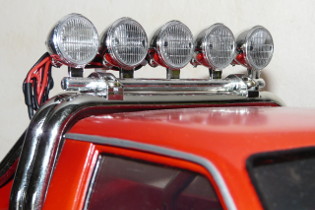

On the left, the stock fake projector ramp, on the right the replacement by 3Racing (reference 3RAC-LEDK03). The new ramp perfectly fits the stock chrome mounts, but you need to try to properly hide all the wires. I guess it is possible to achieve a better result than I did by reducing the length of some wires and by drilling the chrome mount to better hide the wires. A hole in the rear bed is located next to the pillar so you can discreetly pass the wire through without the need of drilling the bodyshell.
As of now, the bodyshell has turned into a pretty Christmas tree: now let's see how to realistically operate all these lights according to the model movements...
The light management module
Before to begin, let's face the truth: there are no real limits to what the technology can do, from basic static systems (on/off) up to advanced state-of-the-art dynamic sound and light systems, some even including dynamic motor sounds, gear shifts, motor vibrations reflected on the bodyshell and exhausts, smoking exhausts... Well, actually money is about the real limit to the extravaganza.
So here is a selection of available systems from Tamiya:
53909 TLU-01
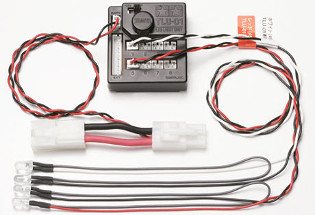
53937 TLU-02

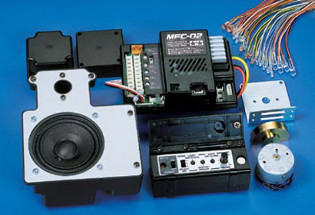
53957 MFC-02
Photos © Tamiya
The first system is the most basic: generally supplied with 2 red + 2 white LEDs, the TLU-01 can power up to 16 lights. Its unique function is to power on or off all the connected lights.
The second system is more advanced, but it is only the management module: it can not power any light directly, but it can drive up to 2 TLU-01 units (16 LEDs each). Among the interesting aspects, the TLU-02 module features 4 different programs to be manually selected from a button (day / position / night / fog), dynamic turn signals (steering operated) and stop (brake) and reverse lights. This is the system I installed on my Mitsubishi Pajero.
The last system is one of the market reference because it directly comes from Tamiya's know-how in RC Trucks: in addition to a very complete dynamic light management (23 LEDs are supplied), the system includes an electronic speed controller, a sound module to simulate the motor sounds and a vibration unit that makes the bodyshell and exhausts vibrate upon the motor rpms.
Thanks to the drift, crawler / scale and truck categories, there are dozens of electronic modules on the market, from the most basic to the most advanced and complex units. What I was looking for is a complete light control unit, without sound, for the most reasonable price possible, that is less than a TLU-01 + TLU-02 combo. This is how I found this unit:
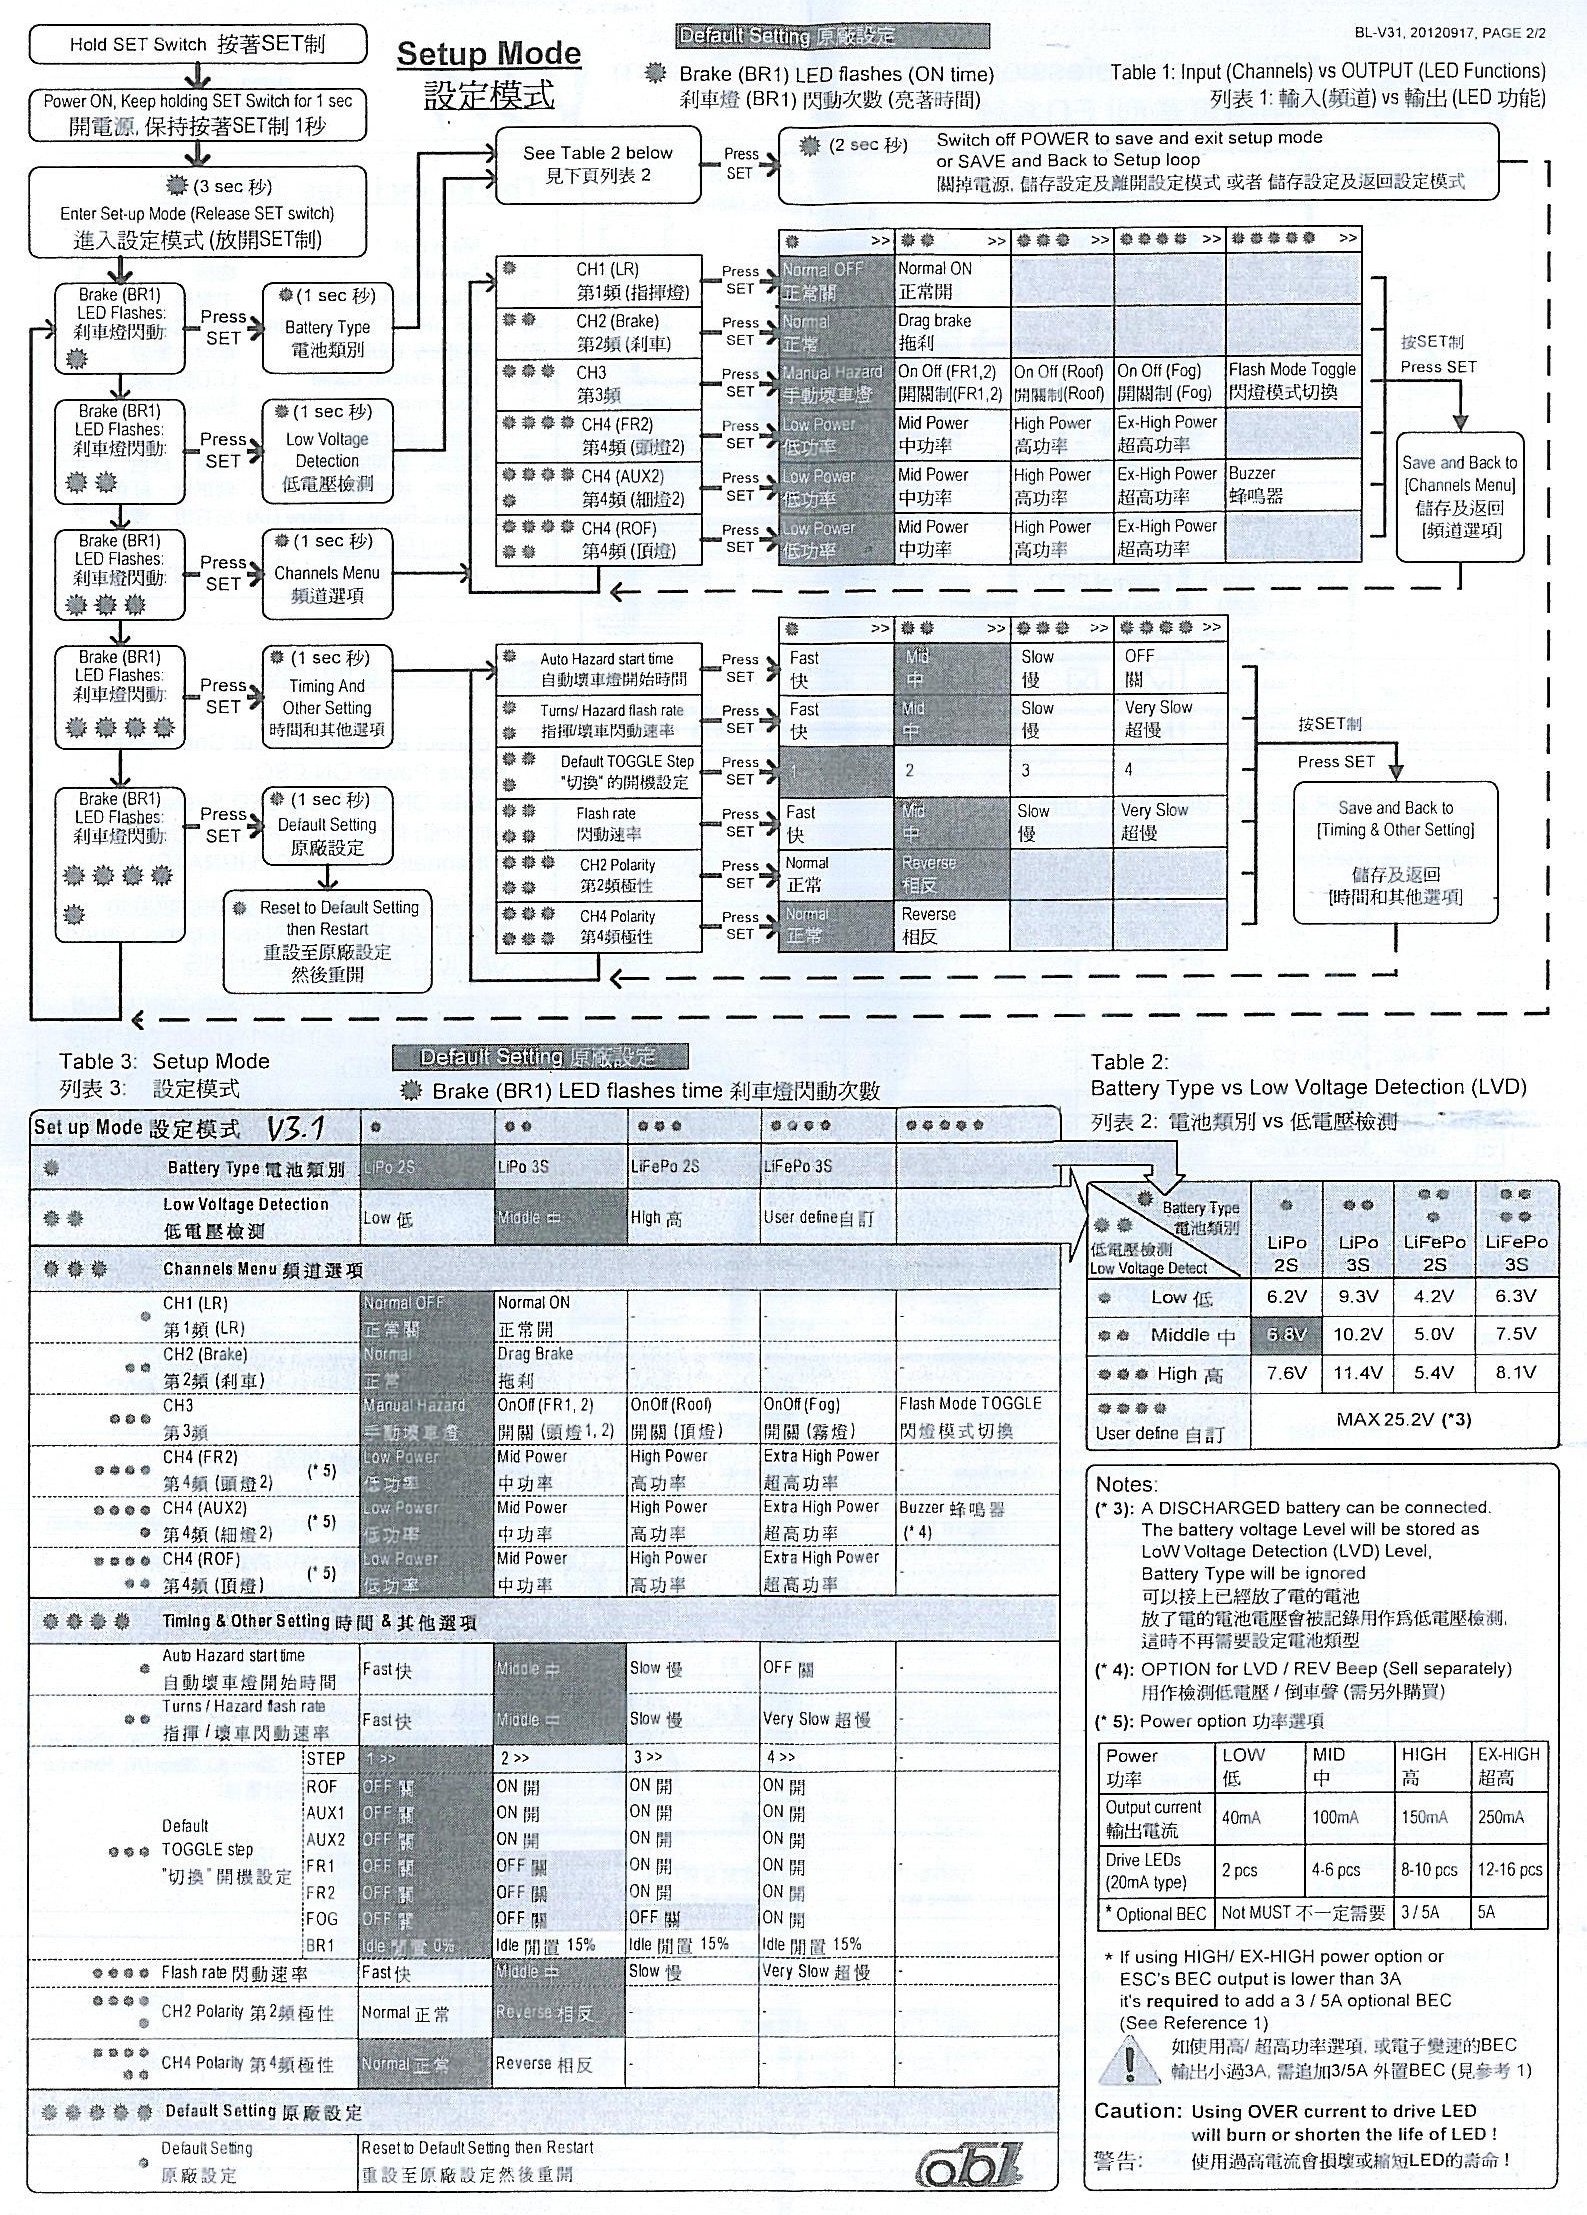
ob1 v3.1 Professional LED System for Buggy / Truck / Crawler / Short-Course

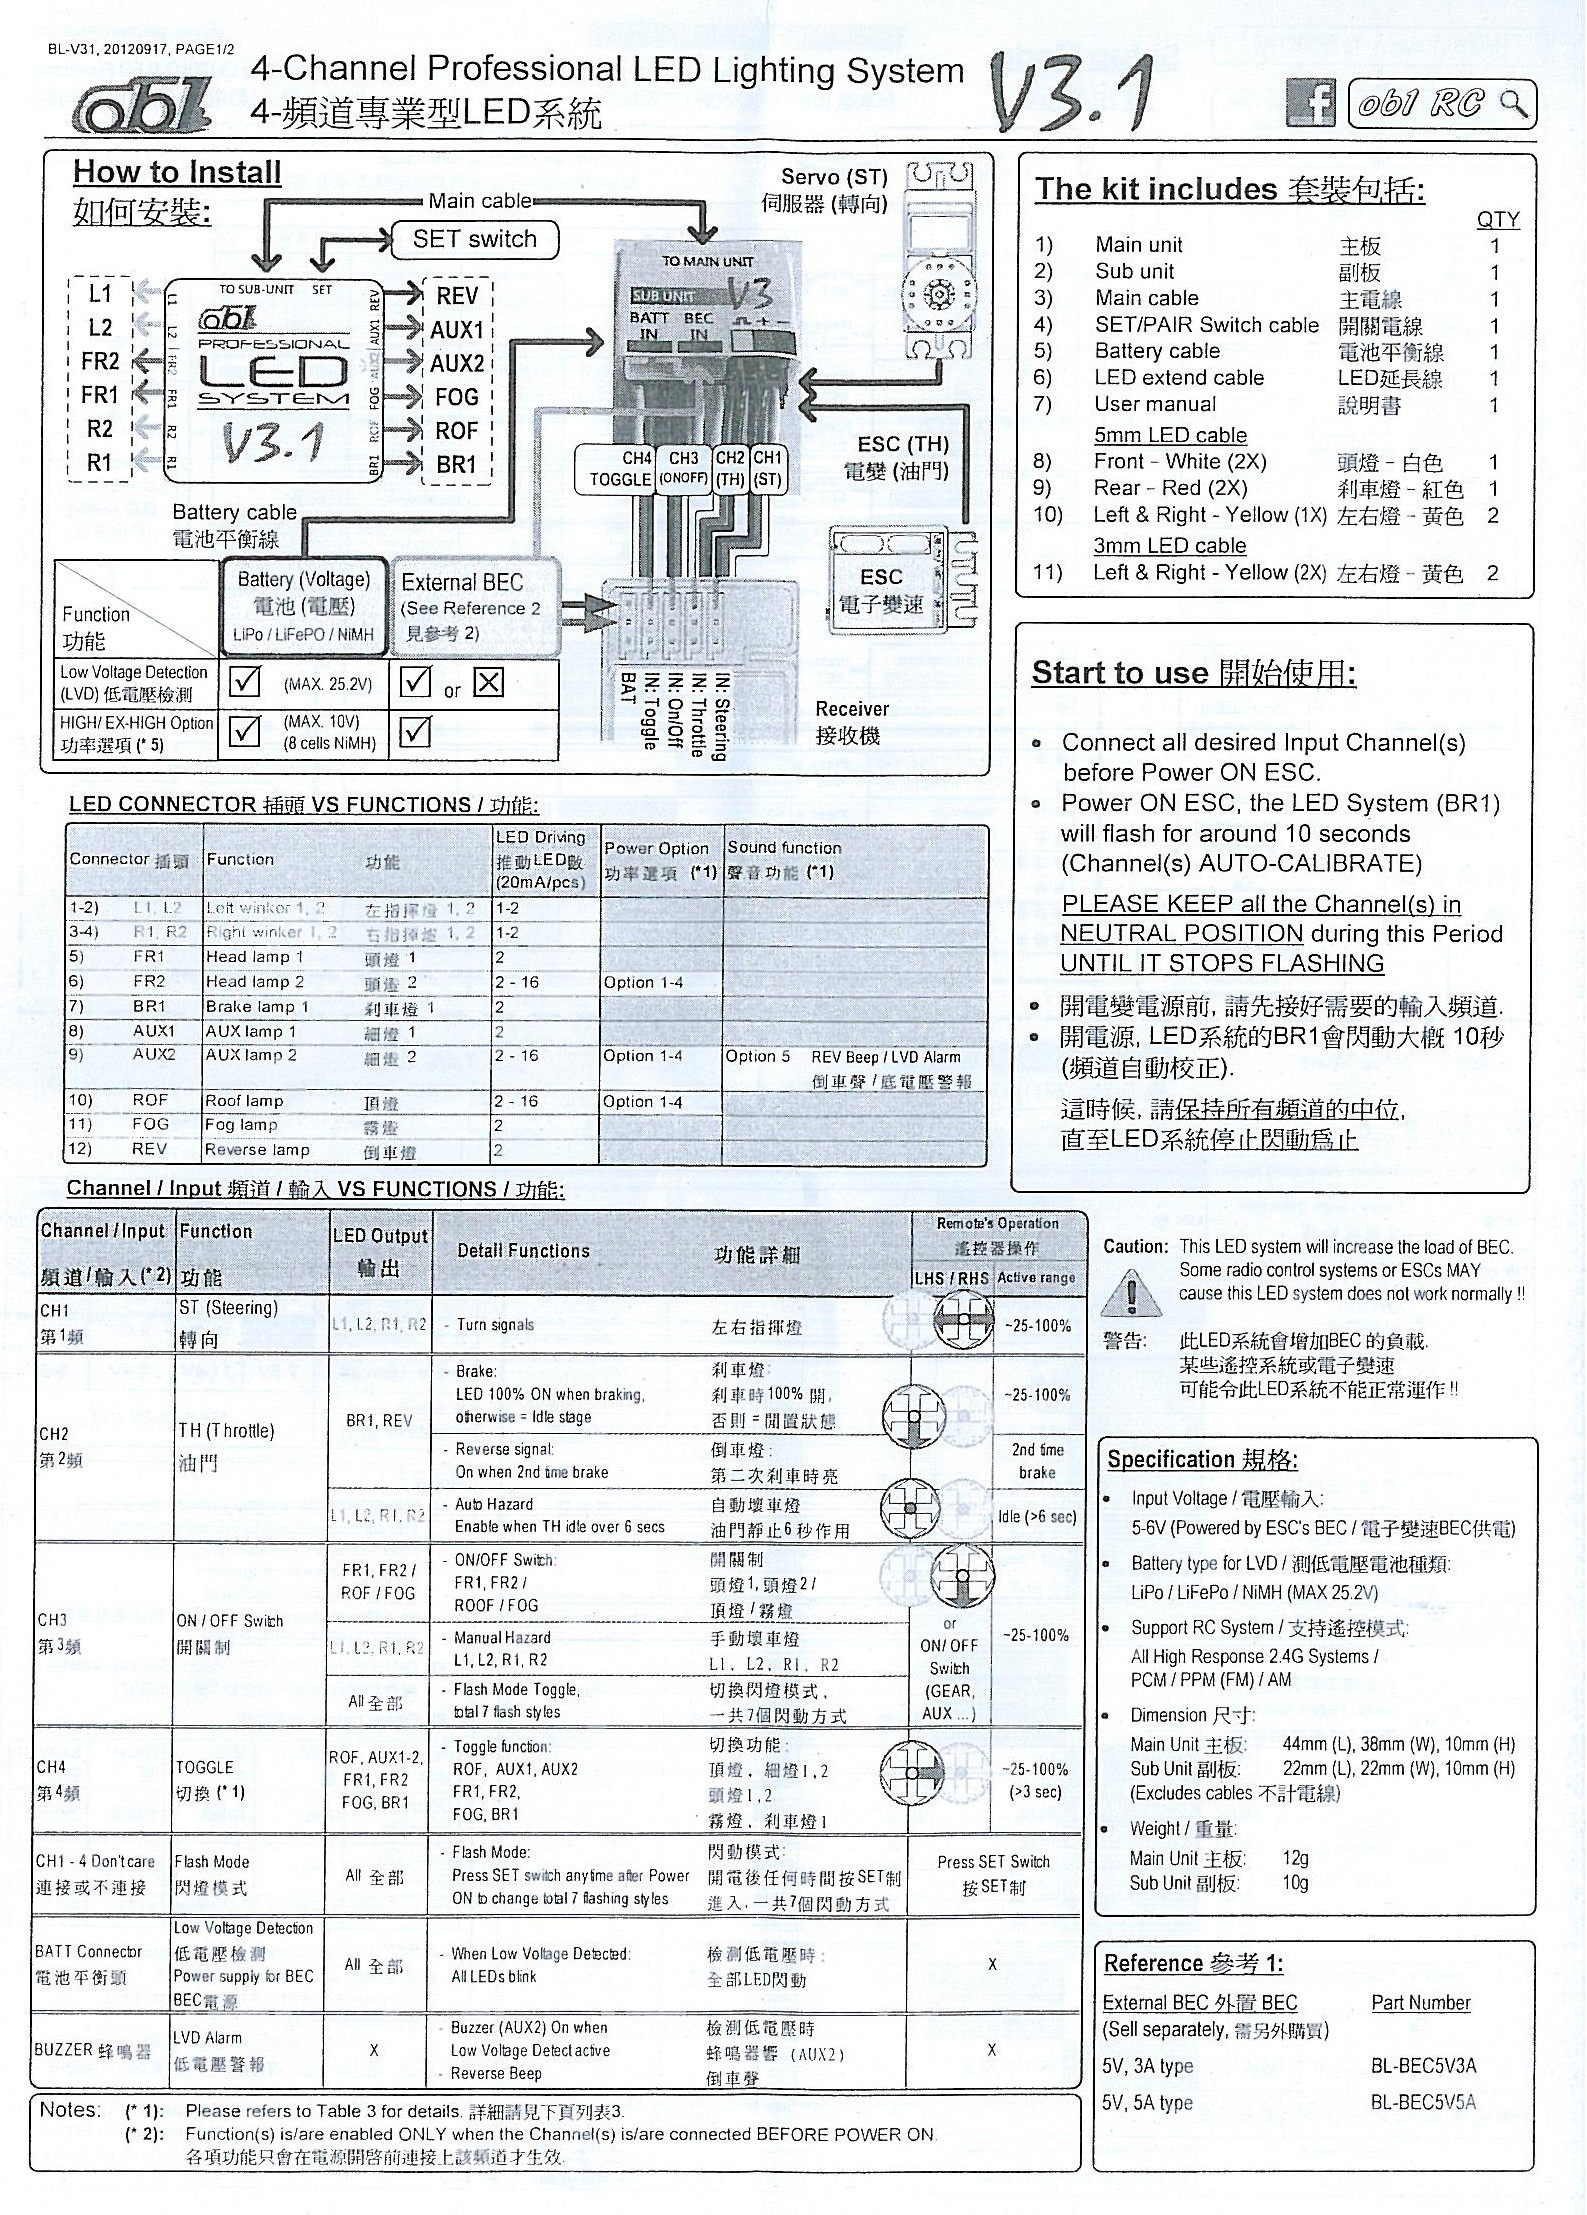
Click to enlarge
If you read the name to fast, please let me write it differently: obiwan (kenobi) .
Well, if you click on the images, the full manual will display: yes, you won't understand much at first, not much after a second read and yes, you are going to spend hours understanding, testing and studying the possibilities . Believe me, it is worth it; see what I finally achieved with mine:
- manual turn signals (see further)
- day / position / night / fog modes, all activated from the radio
- stop lights (brakes) + reverse
- position lights at 50% of power
Just for your information, I only use part of the possibilities allowed by the unit. As for the manual turn signals, I didn't want them to be activated by the steering as it is usually done. To me, it is not very realistic to have the turn signals activated as soon as you turn the wheel, so I preferred to make them manual, that is operated by a button on the radio that I chose when to activate it without considering the wheel direction.
As you can see, the light unit is important for realism, but it definitely needs to be radio-operated to work at its best. For this, you need at least a 4 channel radio, more channels being better since you have even more possibilities.
We are now going to focus on the fantastic 3 Speed chassis, but there will be a complete section about the radio later in this article.
