
")
The build
At first, it seems very easy: I just have to reassemble all these parts following the manual I found on Internet. I will have to deal with missing parts and screws though.
In fact, no big problem with this. However, I found out that this model is far from being the easiest I have ever assembled. I think Tamiya made huge progresses in the design and ease of assembly (especially the gear box). The manual is very detailed on this step, but I spent more than an hour to be able to assemble the gear box because I couldn't manage to maintain all the parts together.
The chassis assembly lasted over fifteen hours, especially because I had recompose all the screw set with spares I had from my other models, or I bought at the local DIY store. On the other hand, I could have bankrupted my account to get a NIB, but the pleasure would not have been the same.
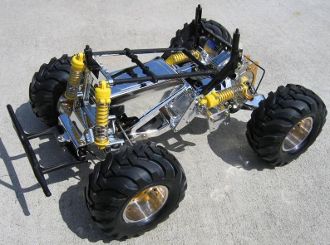
Nevertheless, good news: it is reassembled!
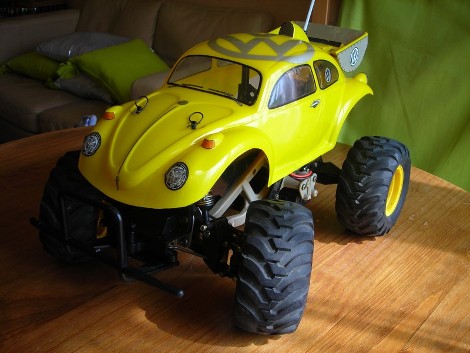
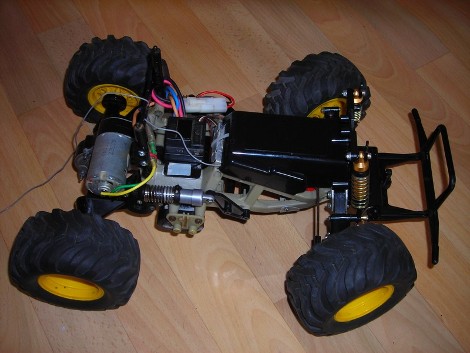
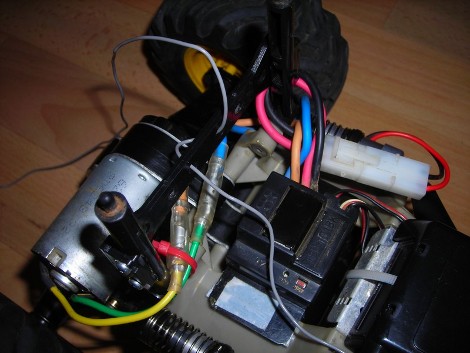
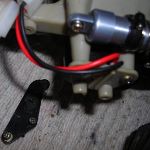
On the first photos, the bodyshell is just resting on the chassis to get an overall view. On the chassis, you can immediately notice missing parts, including the rear gearbox protection (bumper and antenna pipe mount). You can also notice that I did another of my "custom" modification to fix the on/off switch.
Fitting the bodyshell
The big question is how to fix an 1/8th body onto a Tamiya 1/10th chassis.
The bodyshell was already drilled after being fitted on the Blackfoot Xtreme and I didn't want to drill more holes in it: a bodyshell is not meant to be swiss cheese.
Obviously, this chassis was made for different body mounts: one at the front center, and two on the sides for the rear. I drilled two on the front, and two others at the rear (couldn't be easier).
Fortunately, the front holes are come right above the dampers head. At the rear end though, they are above the gearbox with no way to anchor them.
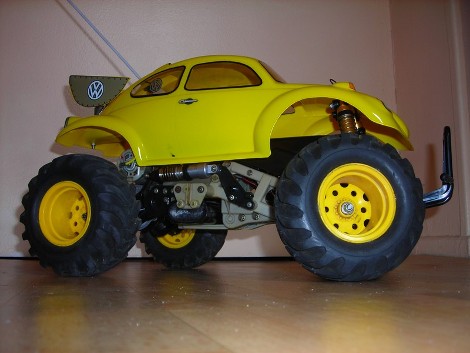
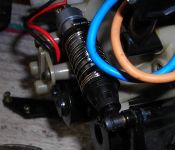
So I started by the front using two servo links. Good news: they are already drilled so body clips can fit. I just needed to use the sharp knife to make them a little bit thinner so they can pass through the bodyshell. Their base needs also some cutting in order to fit in the damper head mount (see the last photo above).
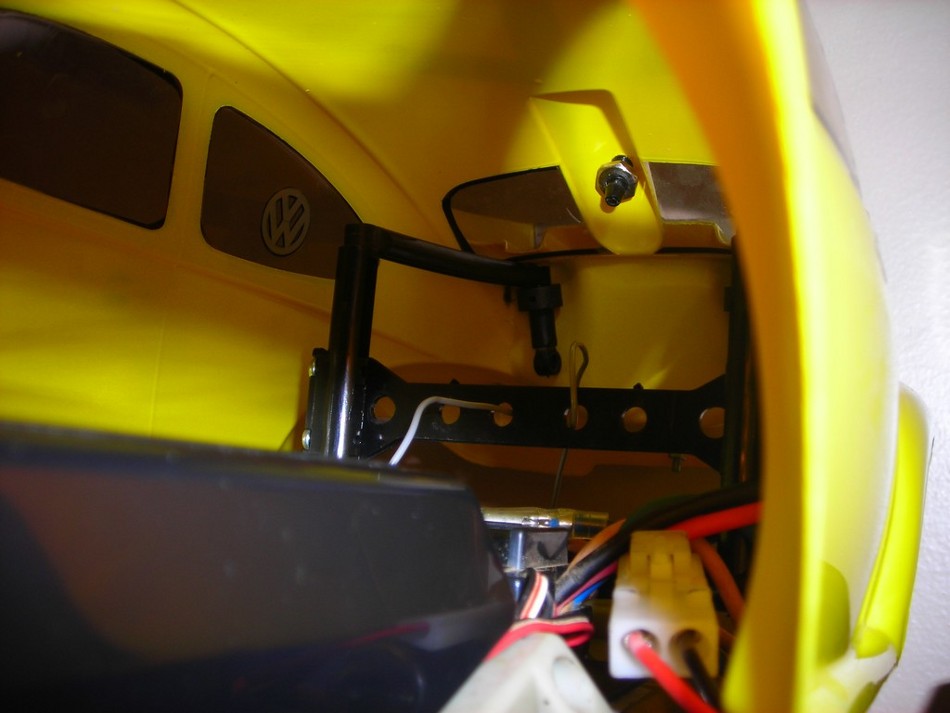
For the rear, it's a little bit more tidy. First, I assembled the Blackfoot body mount on the rear tower. Then I used spare steering arms oriented to the rear of the chassis (above the gearbox). The end of the steering arms can easily be fitted in the body mounts. The other end reaches exactly the bodyshell holes, but to low for a direct fit.
The biggest part was done! There was just a few centimeters between the steering arms and the body holes. I just had to use a long screw, a spacer and a damper anchor to fit the bodyshell in perfect position. Last detail: I used a sharp knife to make the steering arms thinner so body clips can be inserted and better maintain the whole thing while running.
Custom modifications
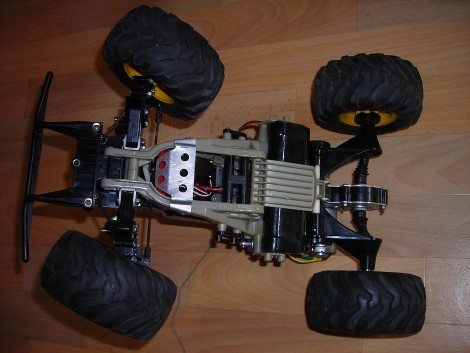
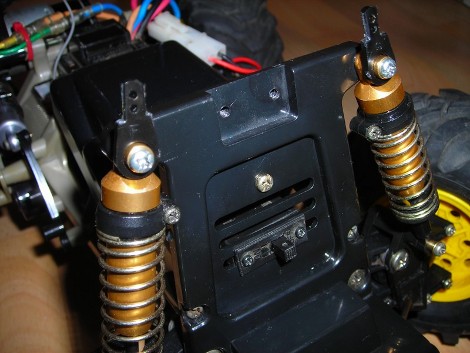
 The rear damper mounts are made of plastic that needs to handle severe efforts (especially with jump landings). Many users report they are weak and often break: so I modified their assembly to fix them directly to the chassis frame..
This modification makes the dampers transmit all their efforts directly to the chassis frame which is much resistant than these weak plastic parts.
I also reinforced the front dampers mounts. The front shock tower is made of plastic I do not trust much. Moreover, it is fitted vertically on the chassis, so it can be easily damaged when the car rolls or do not land on its wheels (may happen, depends on the driver). Back in old times, Team CRP made a specific chassis stiffener for this model to avoid breaks. Those plastics are now about 20 years old and I think it would be suicide not to protect them seriously.
 This chassis stiffener is quite simple: you fix it to the front behind the shock tower where the top of the dampers are fixed. The bars go to the rear of the chassis and fix to the rear tower (on which are located the body mounts). As everything is then fitted to the chassis frame, the whole chassis and and front and rear towers are reinforced, including the rear damper mounts.
The photo on the right side shows this chassis stiffener on the chassis. Here, the chassis is an original Blackfoot's. This is not an "official" photo from Tamiya: this is the great restoration project of a fan who even chrome plated every single part of its chassis.
Passion to this level of quality and work is commonly called art.
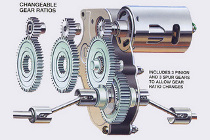
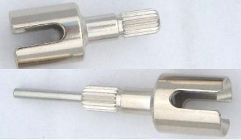
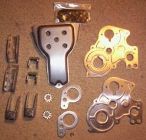
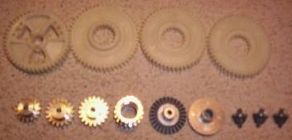
Last modification: the shafts and the gearbox. This is the weak point of this chassis. The metallic side plates of the gearbox tend to bend and the gears become loose and worn. The hexa shafts also become worn because of their shape. That's why a bought a complete re-released Frog gearbox and shaft set which is fully compatible with this chassis. For the moment, I only changed the shafts and nuts, but I keep the complete gearbox as spares.
Below you can see the gearbox internals, and the parts it is made of.
Back after the first run
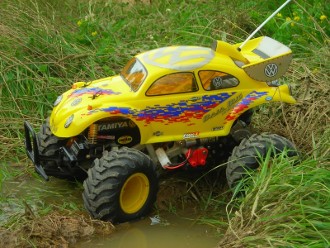 The old grand'ma finally got out! Grand'ma because 20 years in this hobby is like 200 years for us. (well, may be not that much
  ).
).
Anyway, I just kept cool and did not try to make her jump to avoid any break.
The chassis handling is incredibly good and I think it is probably as performant as its grandson Blackfoot Xtreme. The suspension system for the rear end seems very efficient with its strange horizontal mounting.
Concerning speed, the stock Mabuchi 540 is not that powerful and it has to move quite a heavy beast mounted on big wheels. I am sure that this chassis (but not the gearbox) could handle a better motor without passing over its limits. But I won't change the stock silver can because as speed increases, shocks are harder and breakages would occur repeatedly and would be serious. Furthermore, the gearbox would certainly not handle that power increase. It's is not sure that the pilot would handle it either.
This project is meant to evolve to become a true Monster Beetle.
Related article
