")
Assembling the F201 chassis (continues)
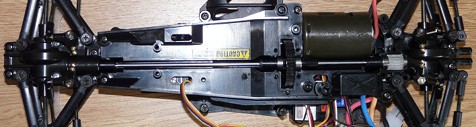
Next step: installing the motor and the two sole hop-ups I will mount on my model.
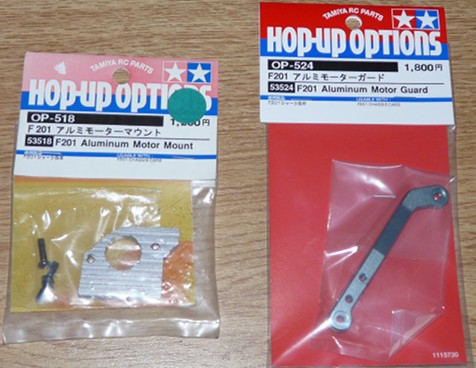
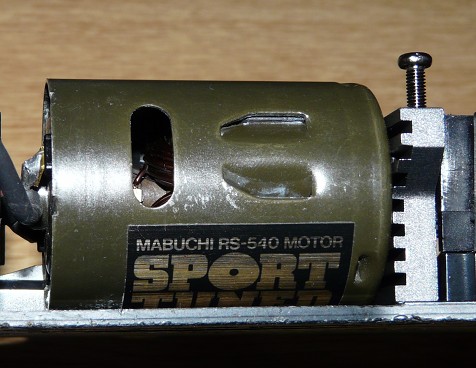
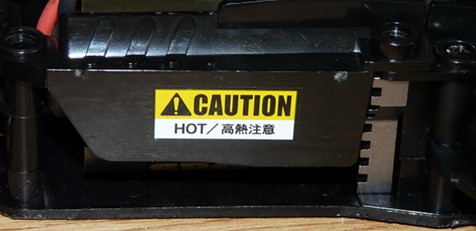
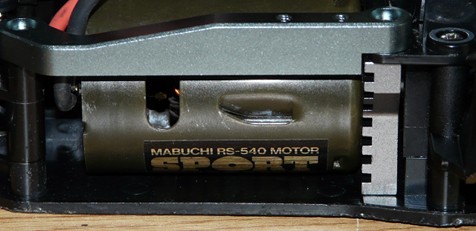
The F201 chassis has a solid reputation to make motors overheat: the aluminum motor mount will better evacuate heat, as well as the motor guard replacing the stock plastic cover. By the way, you can't miss my Sport Tuned greenish color: this is not a photo bug. This is the first time I can see such an horrible thing since all my other Sport Tuned motors are black (thus the "black can" nickname). Visually, I couldn't spot any other difference and the motor looks genuine. Apart from that (ugly) color.
The next step is the upper deck assembly: it provides a lot of stiffness to the chassis, in addition to receive the last elements of the transmission. Before, you have to place the electronic components, which are a TEU-302BK speed controller and a receiver: please note that I placed the electronics, not that I properly cable-tied them  .
.
Preparing the transmission before fitting it into the chassis:
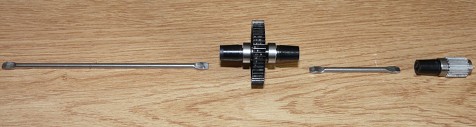
Here, you should know that the F201 chassis is very limited as far as gear ratio choice is concerned because the motor mount is not adjustable. In fact, there are only two possible gear ratios: 20T motor pinion with the 55T spur gear like on my model, or 23T motor pinion with the 52T spur gear. The later being supplied with every F201-based model but the Ferrari F2001, but it was available as an option (53552 F201 High Speed Gear).
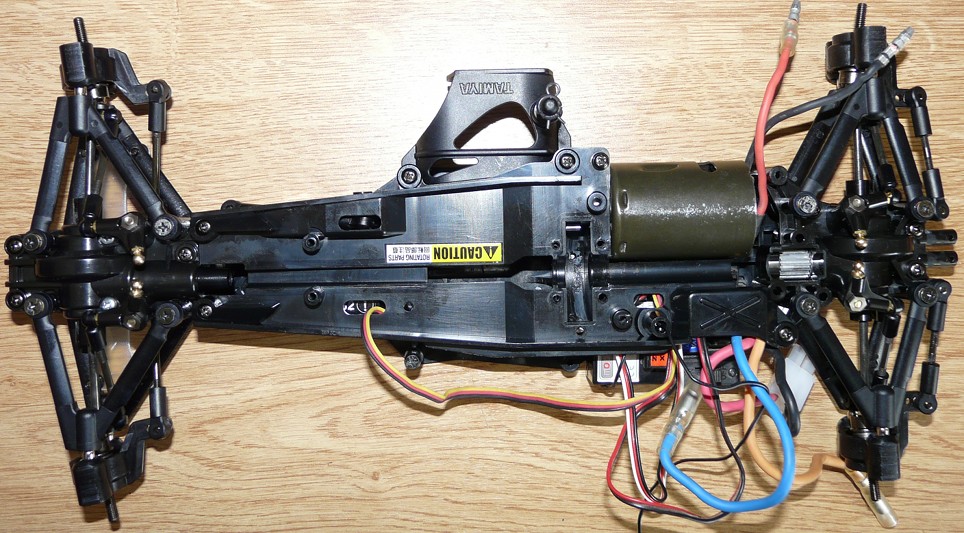
We keep on with the assembly process by fitting the upper housings protecting the 4WD transmission. This is also the moment to replace the stock plastic motor cover with the motor guard Hop-up: the Sport Tuned motor should get more air.
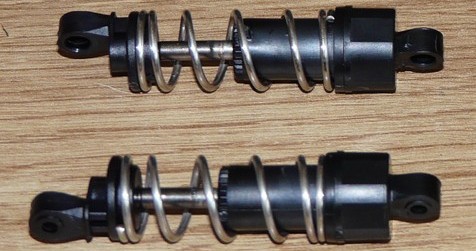
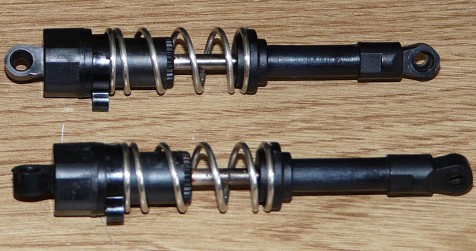
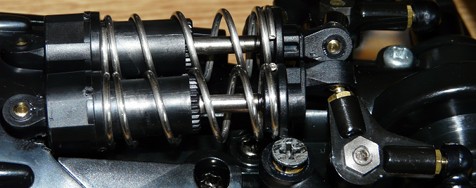
Preparing the hydraulic dampers: you can see the very specific shape of the bottom joints as well as springs that look very stiff. In fact, the shocks are very stiff, both because of the springs and the no-hole piston (thus not adjustable). But don't forget the dampening effect will be increased by the damper bellcranks, so the shocks need to be very stiff. Then, fitting them onto the chassis:

After fitting the front and rear wings, you mount the wheels:
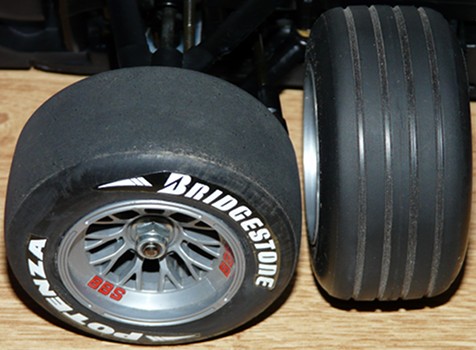
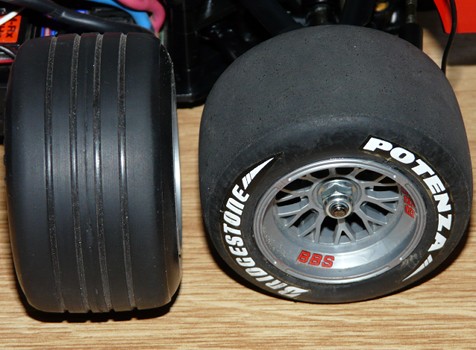
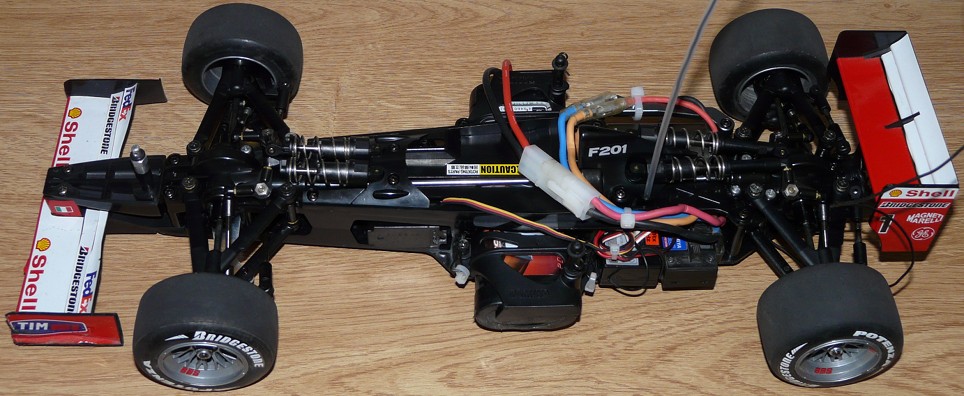
As you can see, my model tires are not new: moreover, they are quite dry. When they were new, they looked like the ones on the sides, the famous ribbed tires the FIA imposed to reduce grip thus speed of the real Formula 1s in the late 90's. Don't be surprised by the wear: these tires are probably the stock ones which reputation is to wear at the speed of light. My spare tires are reinforced versions that should last longer. Also note these are rubber tires (with foam inserts) like the real things, not foam like on modern RC F1s.
The detailed chassis review is now done. Here's the chassis ready to run: